
You’ll tackle a 24-step bathroom deep clean in a clear, methodical way that makes the job feel manageable. Start by decluttering surfaces and sorting what stays, then move through dusting, laundering, pre-soaking tubs, and targeted grout and fixture work. I’ll guide you through descaling, re-caulking, drain care, and sanitizing high-touch spots so your space looks and smells fresh—next, you’ll learn the exact order and tools that make it efficient.
Clear Out and Declutter the Space
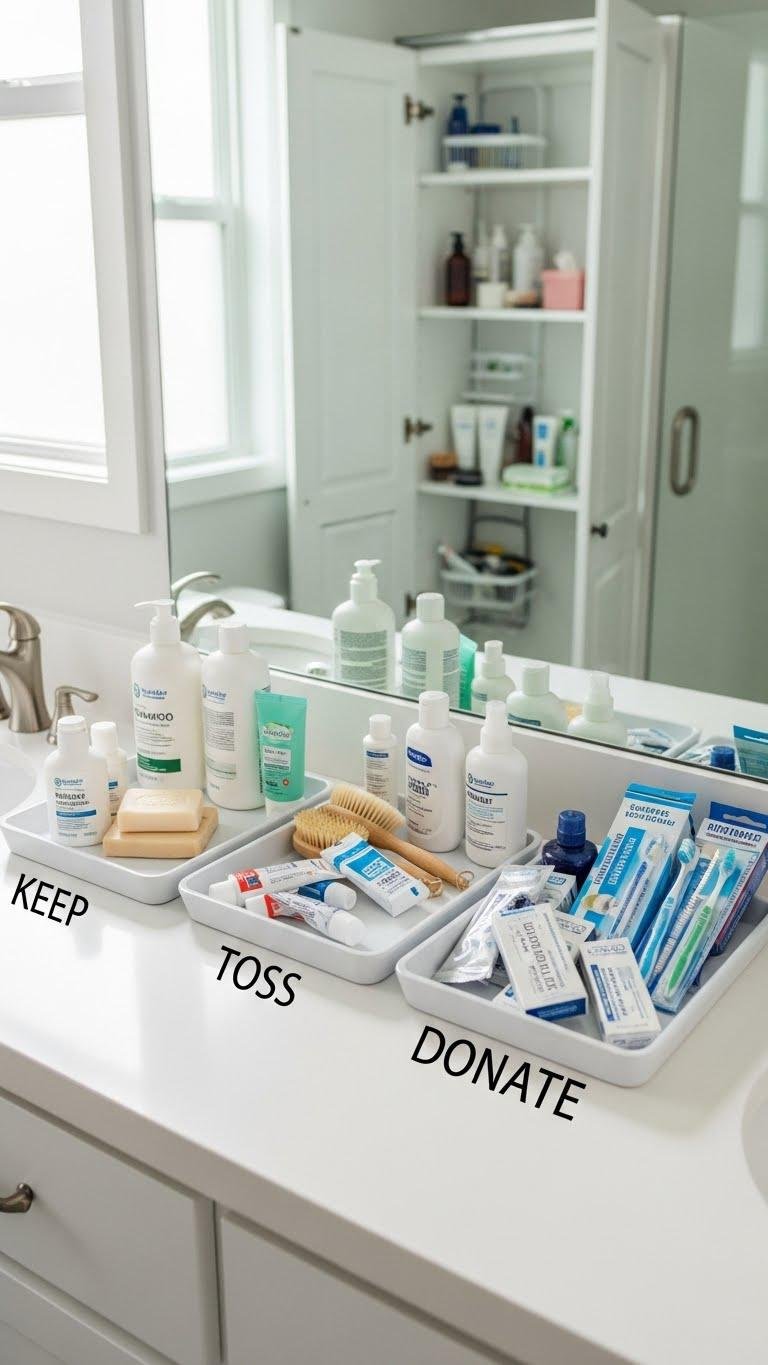
Start by pulling everything out of the bathroom so you can see what you’re dealing with; empty countertops, cabinets, and shower caddies create the clear workspace you need.
You’ll assess items, use space planning to group essentials, and set aside duplicates.
Follow a swift donation sorting routine for usable goods, label keep, toss, donate piles, then return only what supports your daily freedom.
Dust From Ceiling to Floor

Working from the top down keeps dust from resettling on cleaned surfaces: begin by removing cobwebs and loose dust from the ceiling, light fixtures, and vents with an extendable duster or a microfiber cloth on a pole.
Move steadily—dust removal across walls, shelves, and fans, then wipe countertops and fixtures.
Finish by vacuuming or sweeping from ceiling to base, then mop for freedom to enjoy.
Remove and Wash Shower Curtains and Liners
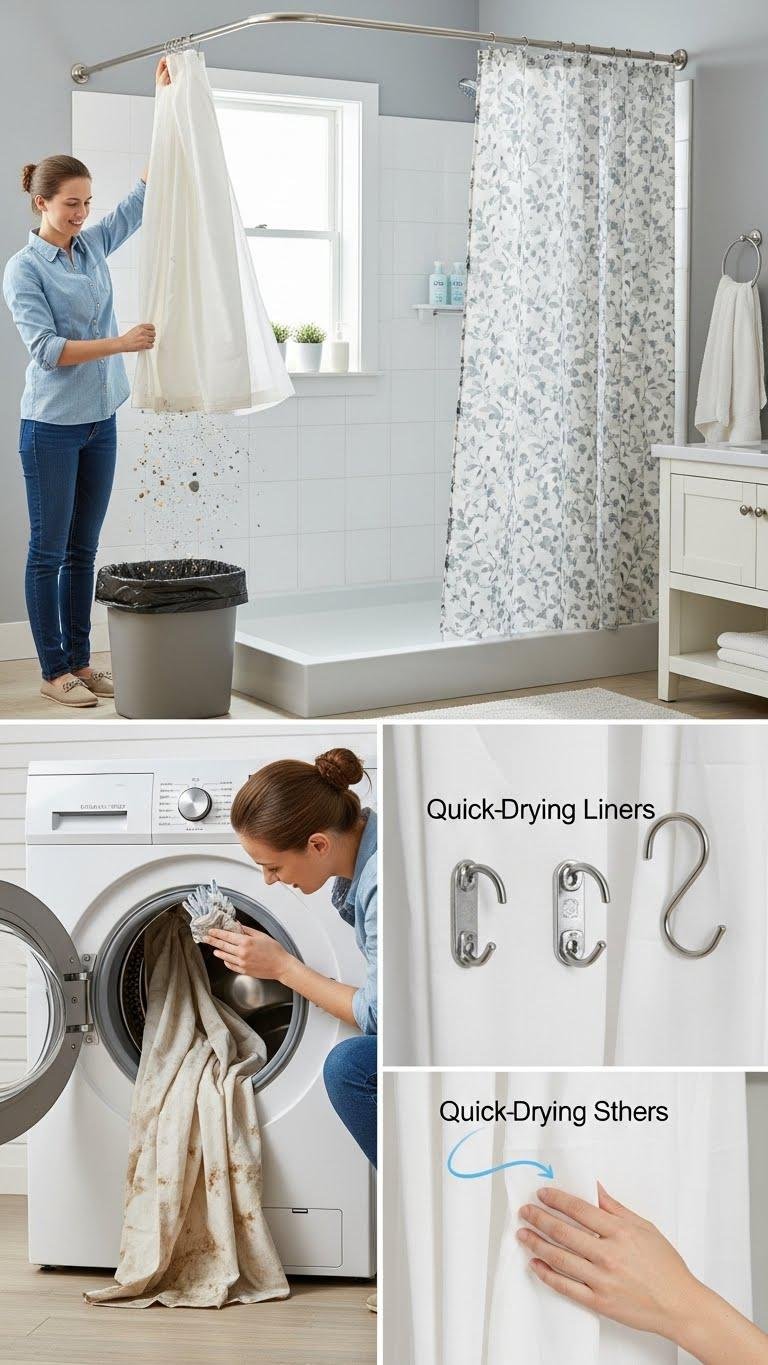
Take down the shower curtain and liner carefully to avoid spreading mildew and shake off loose debris over a trash bin or outdoors. Inspect fabric curtains for stains and machine-wash per label; hang to air-dry.
Swap or launder quick drying liners separately using gentle cycle and mild detergent. Replace hooks if rusty and rehang everything completely dry to keep your shower fresh and free.
Pre-Soak Tubs and Shower Walls
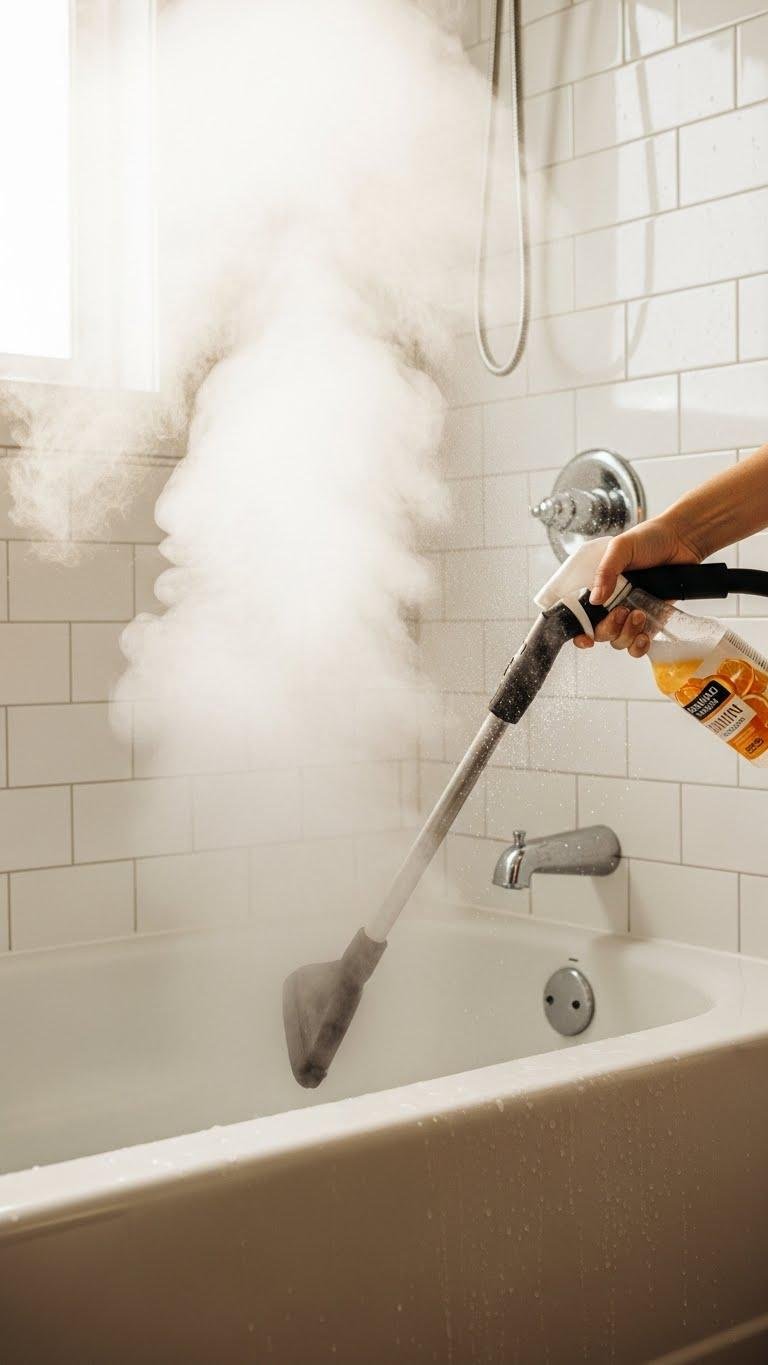
Before you spray or scrub, soak the tub and shower walls to loosen soap scum and mildew so cleaning goes faster and with less elbow grease. Start with a steam treatment to soften deposits, then apply a citrus soak for fresh, natural degreasing.
Let solutions sit 10–20 minutes, rinse, and spot-clean stubborn areas. You’ll save time and feel freer to enjoy your space.
Scrub Grout Lines With a Specialized Brush
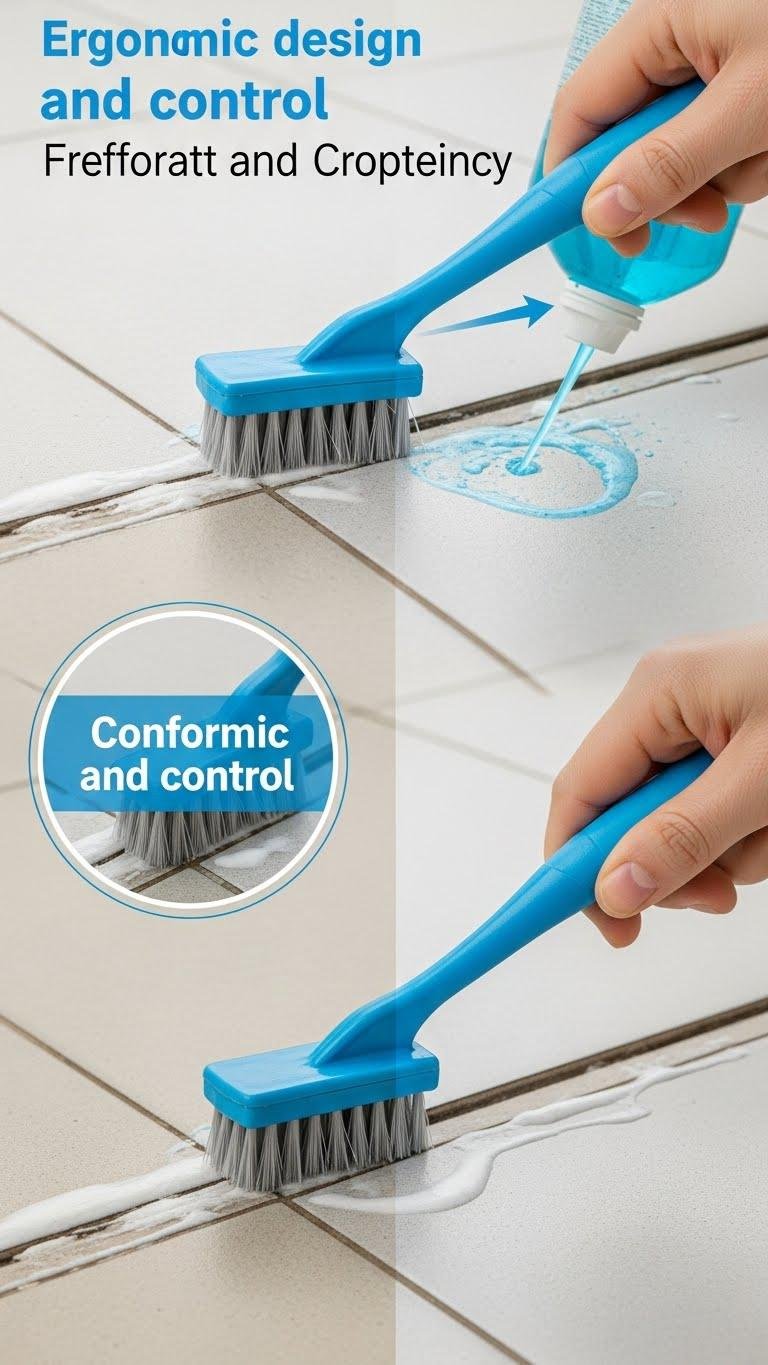
Once the surfaces are pre-soaked, grab a narrow grout brush and focus on one small section at a time so you don’t miss stubborn lines. You’ll apply targeted cleaner, scrub in short strokes, and rinse frequently.
Choose tools that aid grout color restoration and prioritize brush handle ergonomics for control and comfort. Finish by inspecting for missed spots and letting grout dry fully.
Clean and Disinfect the Toilet Thoroughly
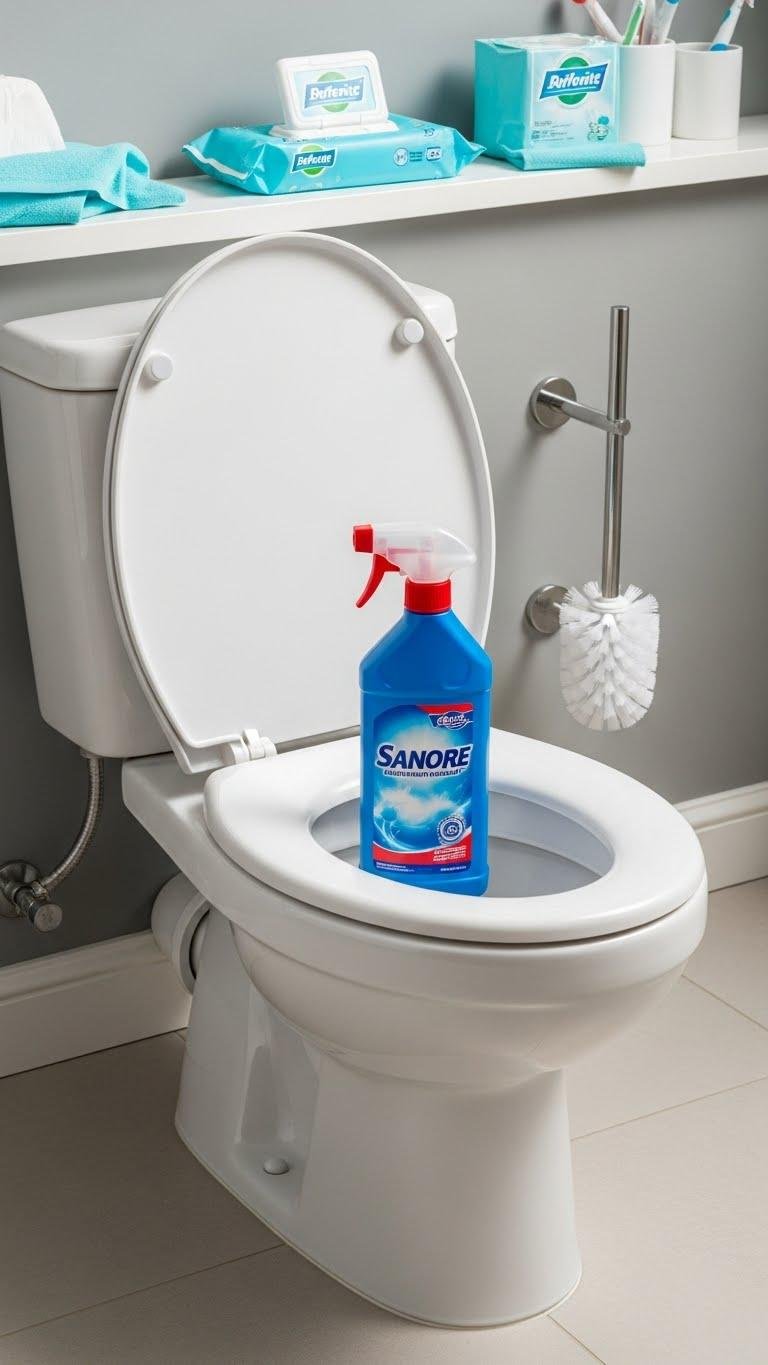
Start by lowering the lid and applying a toilet cleaner under the rim and around the bowl, then let it sit while you gather disinfecting wipes, a soft toilet brush, and gloves.
Scrub briskly with the brush, rinse, then disinfect seat, handle, and base. Consider enzymatic cleaners for organic buildup.
Dry surfaces, replace tools, and choose discrete toilet bowl brush storage to keep the space free.
Deep Clean Under the Rim and S-Trap
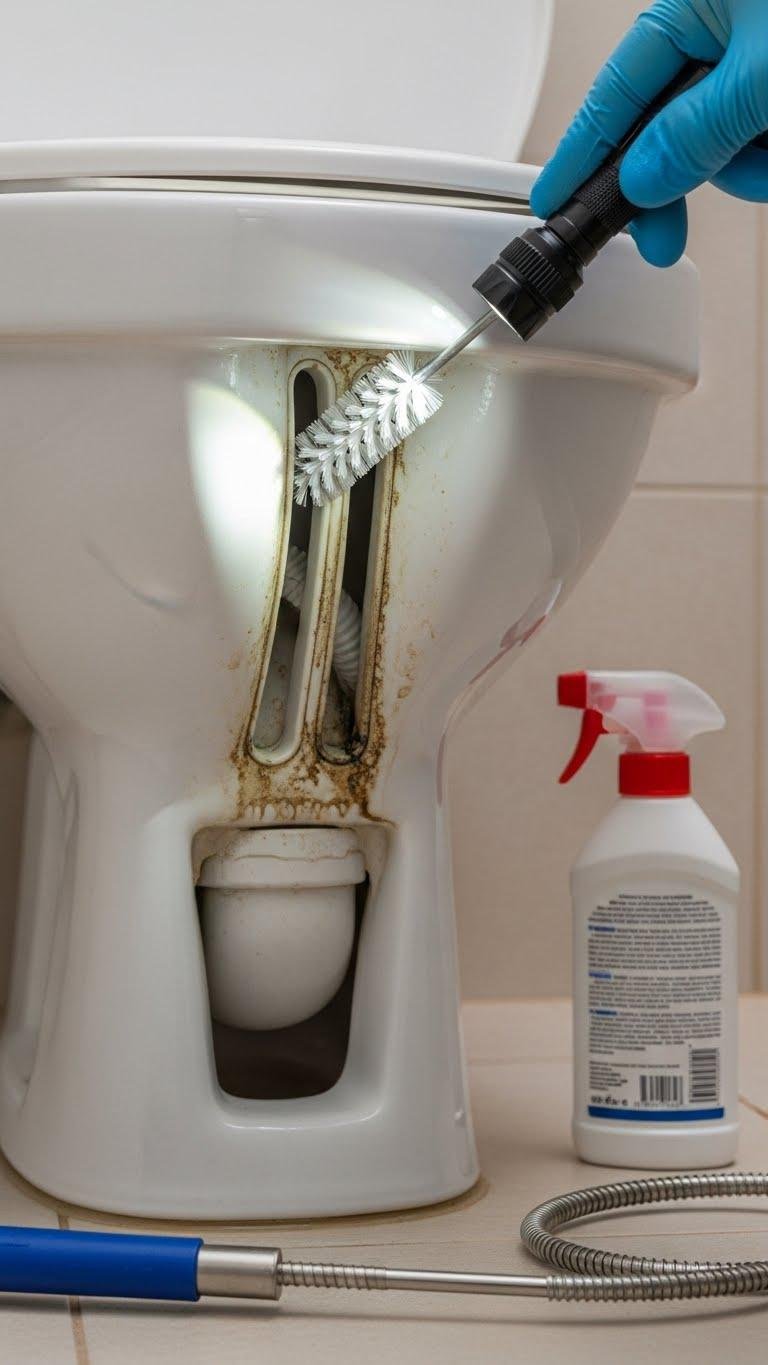
Because grime hides where you can’t see it, you’ll want to target the under-rim channels and the S-trap with focused tools and cleaners: lift the seat, shine a flashlight to inspect buildup, then apply a toilet bowl cleaner or an enzymatic solution directly into the rim holes and down the trap.
Use a narrow brush for rim detail, a flexible snake for trap access, then flush and air dry.
Shine Faucets and Remove Water Spots
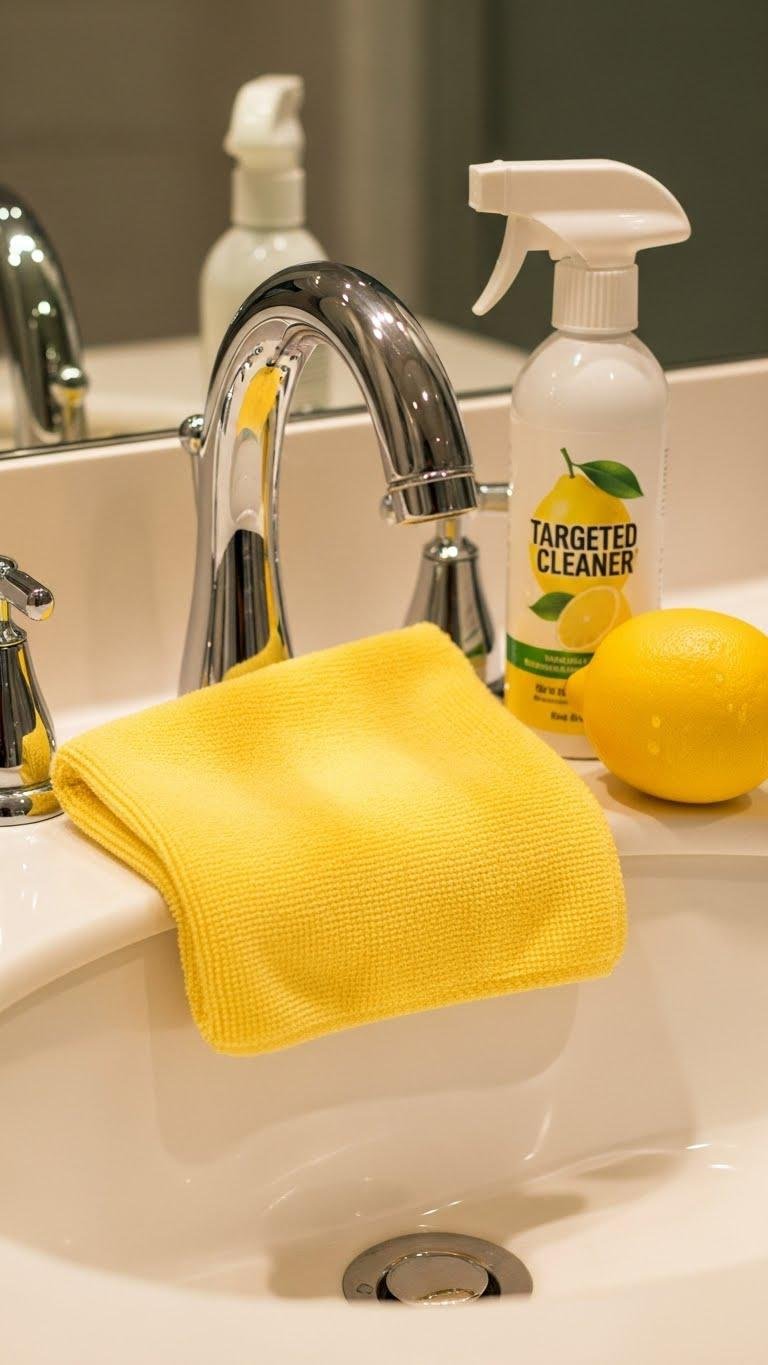
Shine your faucets by first wiping away surface grime with a damp microfiber, then tackle water spots with a targeted cleaner so minerals don’t etch the finish.
You’ll use microfiber polishing for streak-free results and lemon rubbing to dissolve deposits. Work in small sections, rinse thoroughly, then dry with a soft cloth.
Regular quick maintenance keeps fixtures gleaming and under your control.
Polish Mirrors Without Streaks
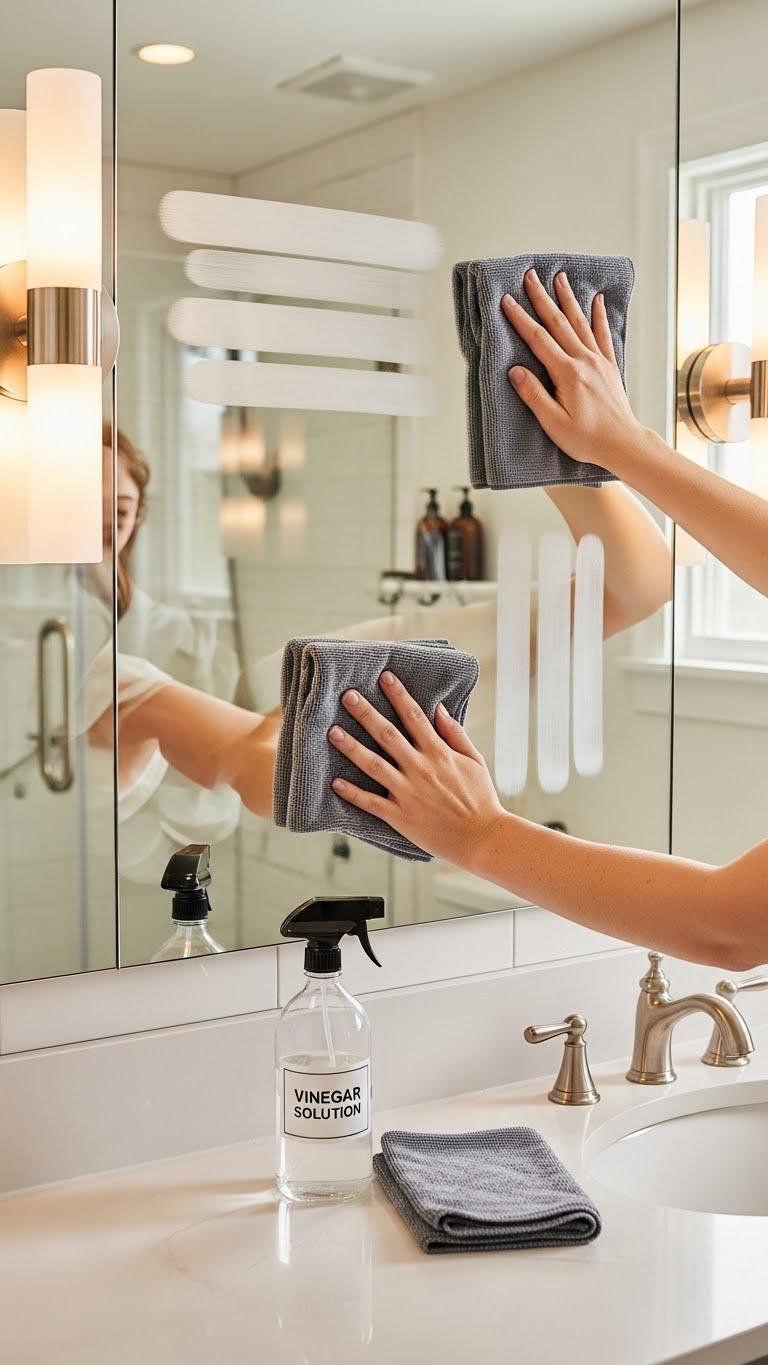
Often you’ll get streaks from using the wrong cloth or too much cleaner, so begin by dusting the mirror with a dry microfiber to remove loose particles.
Spray a light vinegar solution or anti fogging sprays sparingly, then wipe using microfiber techniques: horizontal strokes then vertical for edges.
Buff dry with a clean, lint-free cloth.
You’ll enjoy clear, streak-free freedom.
De-scale Shower Heads and Faucets
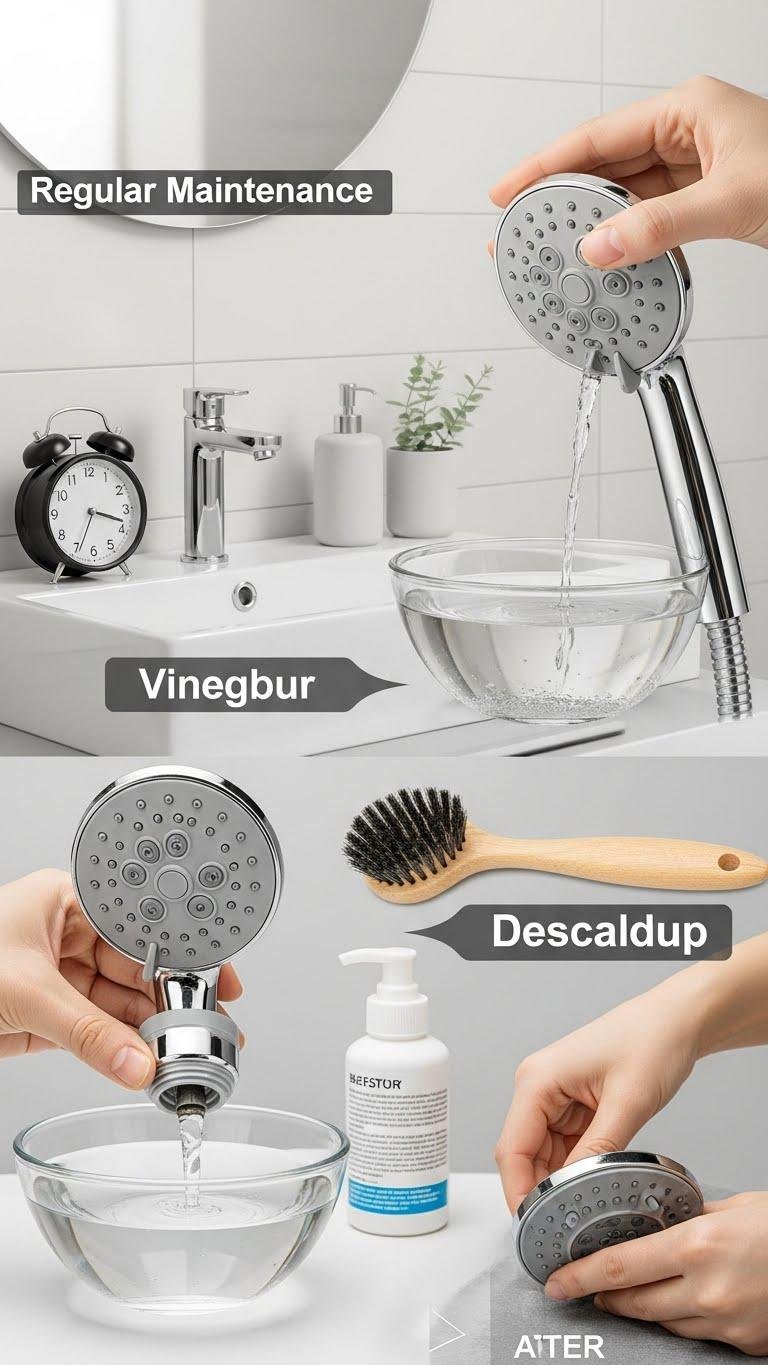
Remove mineral buildup from shower heads and faucets by soaking or flushing them regularly to restore water flow and finish. You’ll detach fixtures, submerge removable parts in vinegar or a descaling solution, and scrub aerators with a brush. Flush fixed heads by running hot water and vinegar through lines. Rinse, reassemble, and test for flow restoration. Repeat monthly to maintain freedom and performance.
Tackle Soap Scum on Glass Doors
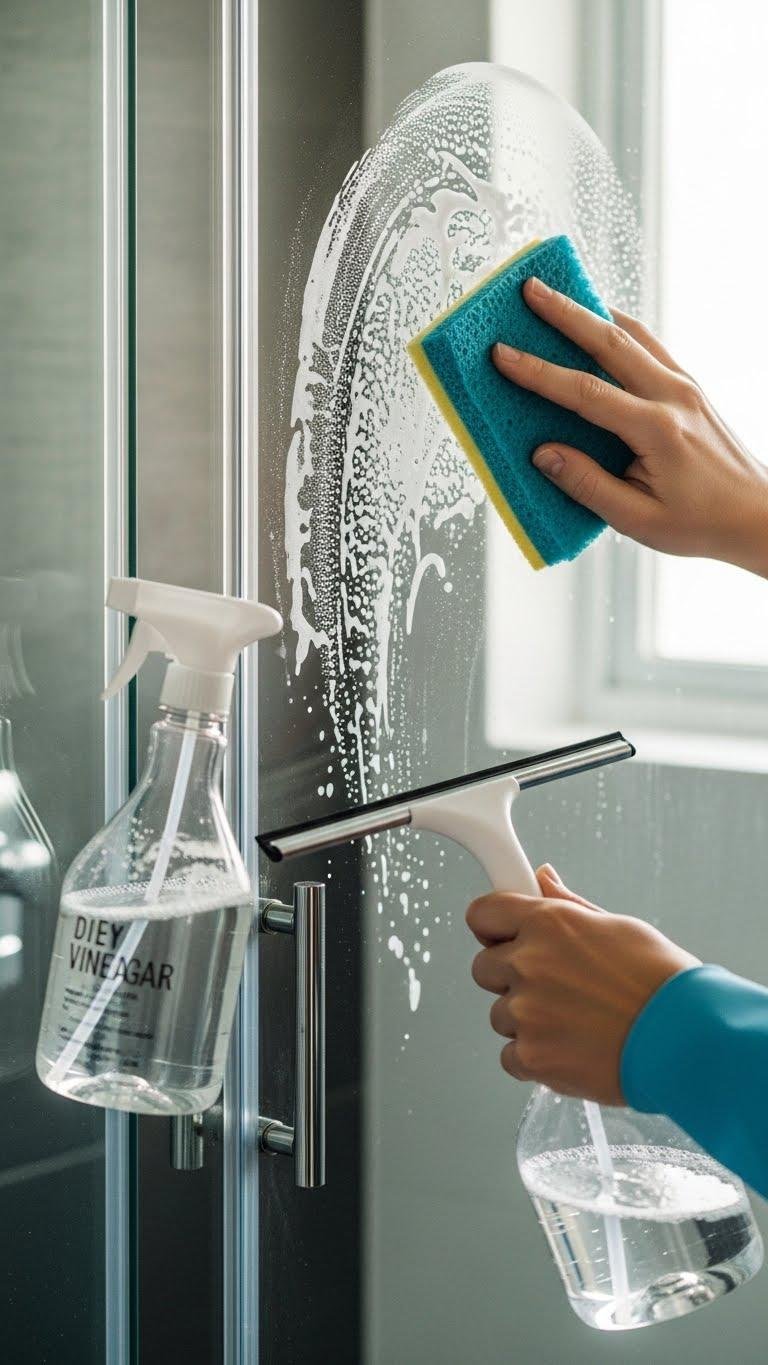
Tackle soap scum on glass doors by combining the right cleaners and a simple technique: wet the glass, apply a vinegar-based or commercial soap-scum remover, let it sit for a few minutes, then scrub with a non-abrasive pad and rinse thoroughly.
You’ll use DIY vinegar, water hacks, Microfiber scrubbing and avoid blade barriers; finish with a squeegee for streak-free freedom.
Sanitize High-Touch Surfaces and Handles
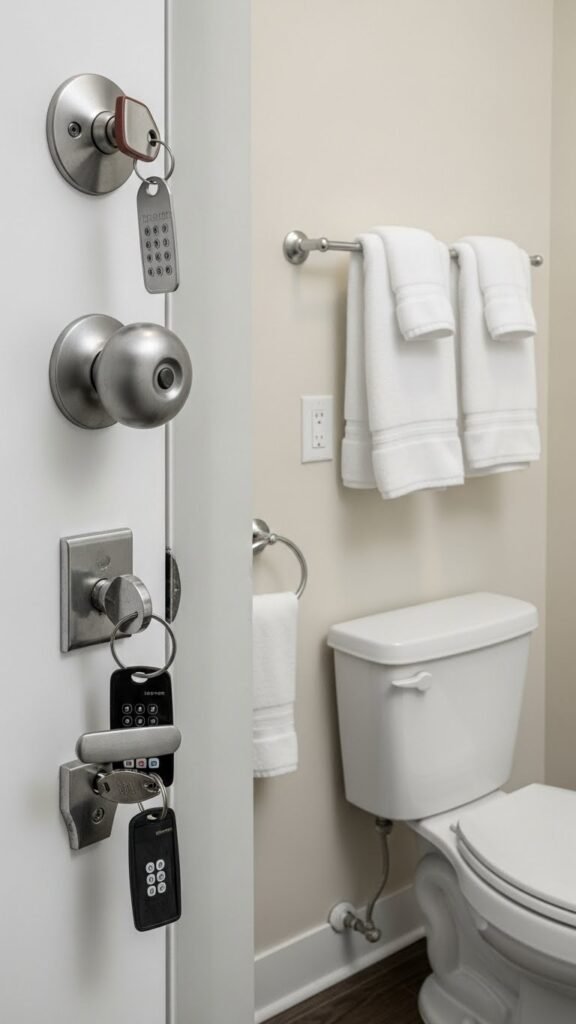
Because these spots get the most contact, focus on high-touch surfaces and handles first: doorknobs, faucet handles, light switches, towel racks, and flush levers.
You’ll disinfect with approved cleaners, wiping toward a dry finish.
Consider antibacterial coatings for added protection and routinely clean keycard handles and shared hardware.
Schedule quick daily wipes and deeper weekly treatments to keep control and freedom in your space.
Clean and Refill Dispensers and Soap Dishes
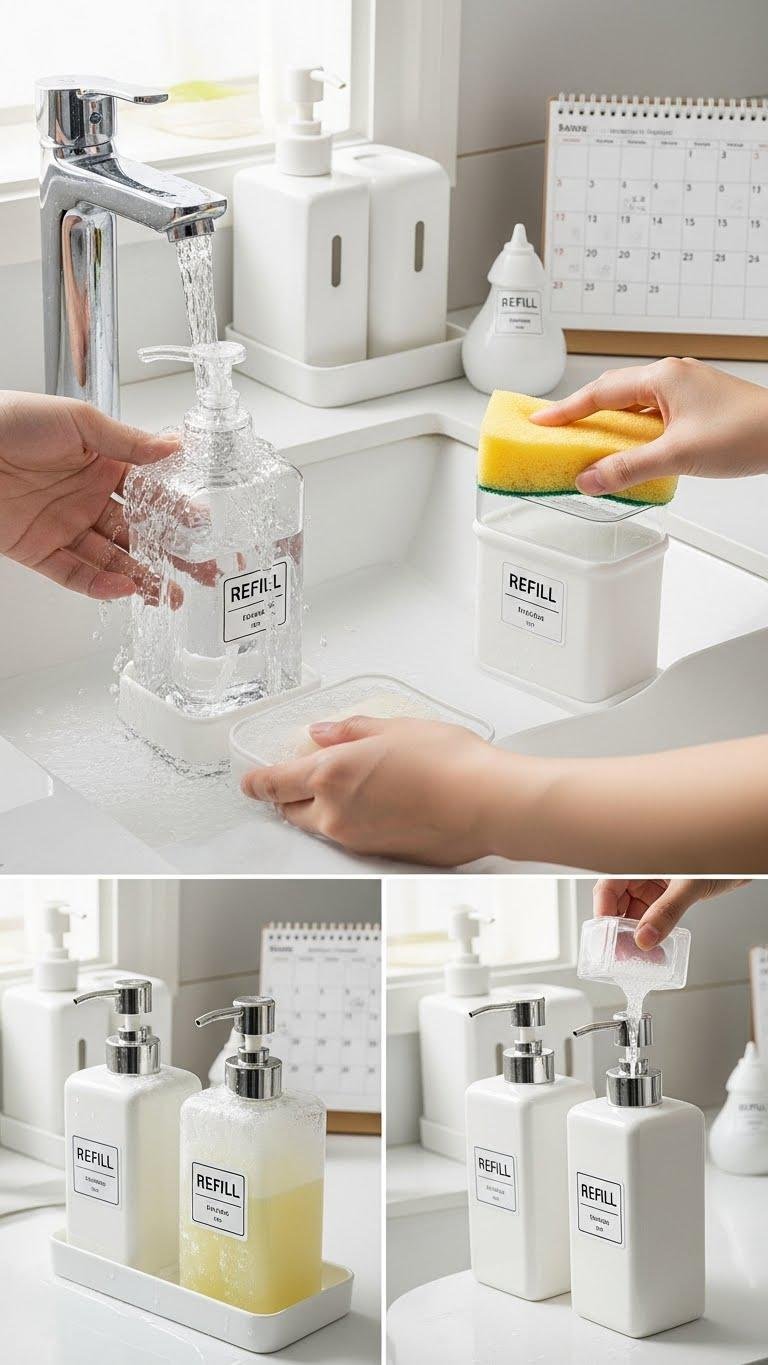
Start by emptying and rinsing each dispenser and soap dish so you can inspect for residue, mold, or cracked components.
You’ll scrub with a mild cleaner matched to dispenser materials, dry thoroughly, and replace seals.
Set practical refill timings—weekly for heavy use, monthly otherwise.
Label containers if needed, rotate products to prevent clogs, and reassemble securely so everything functions reliably.
Wash and Sanitize Toothbrush Holders
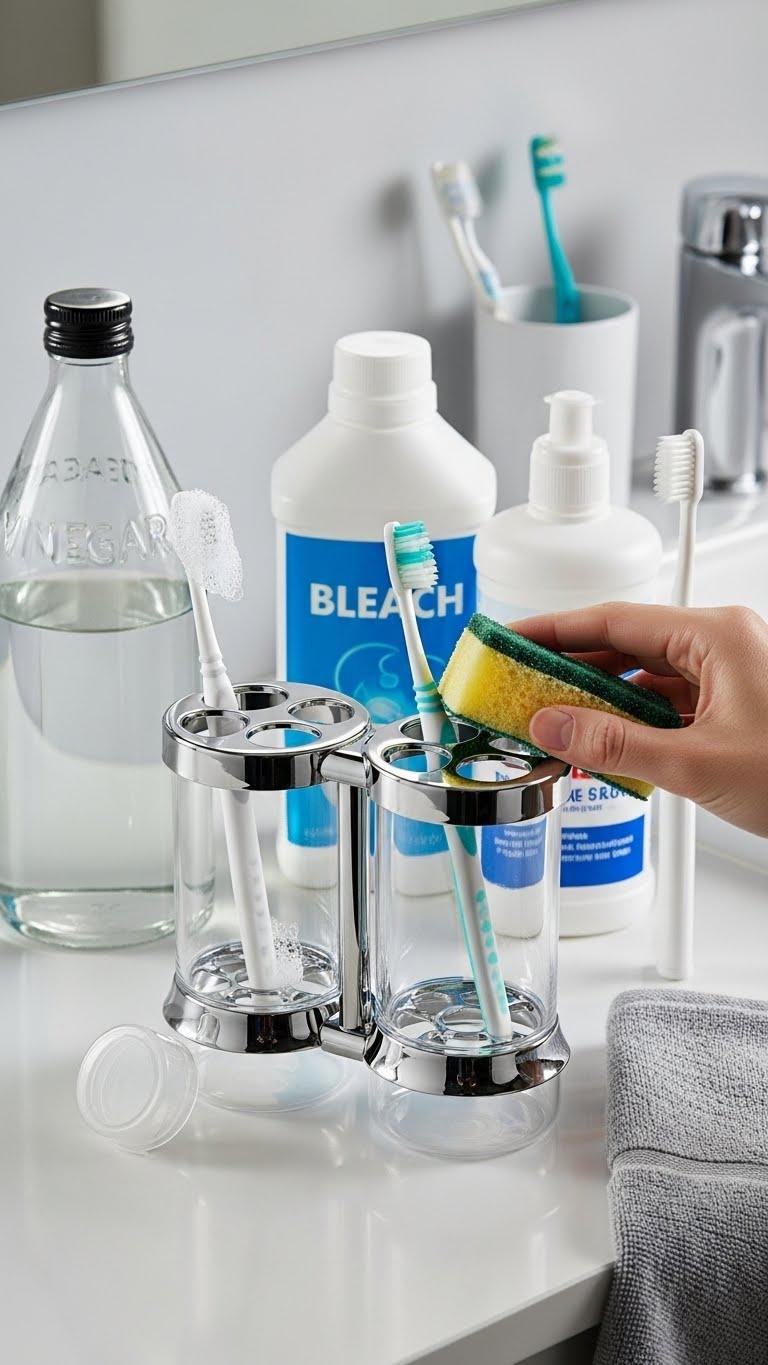
After you’ve cleaned and refilled dispensers, turn your attention to toothbrush holders—these small items trap toothpaste residue and moisture that breed bacteria and mold.
Empty holders, scrub with hot soapy water or a vinegar solution, rinse, then soak briefly in diluted bleach if plastic allows. Dry completely. Clean bristles, use travel caps for trips, and schedule regular bristle replacement to keep routines hygienic and free.
Clean and Dust Light Fixtures and Vents
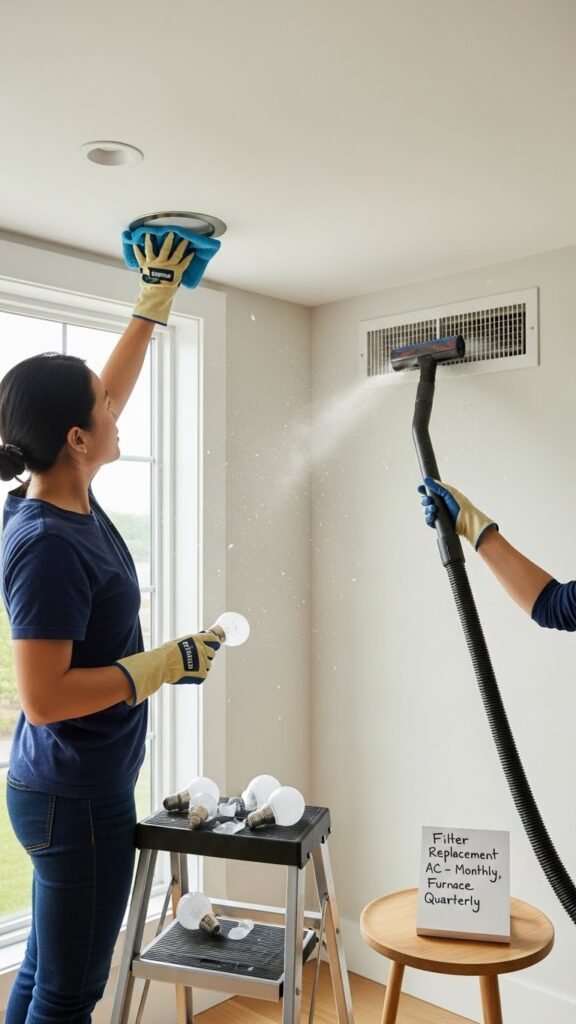
While you’re wiping surfaces, include light fixtures and vents in your routine so dust and grime don’t reduce light output or airflow.
Turn power off, remove covers, and gently dust with a microfiber and vacuum crevice tool. Check bulbs for LED maintenance and wipe lenses.
Clean vent grilles and note Filter replacement schedules.
Reassemble, restore power, and enjoy clearer light and freer airflow.
Wipe Down and Disinfect Cabinets and Drawers
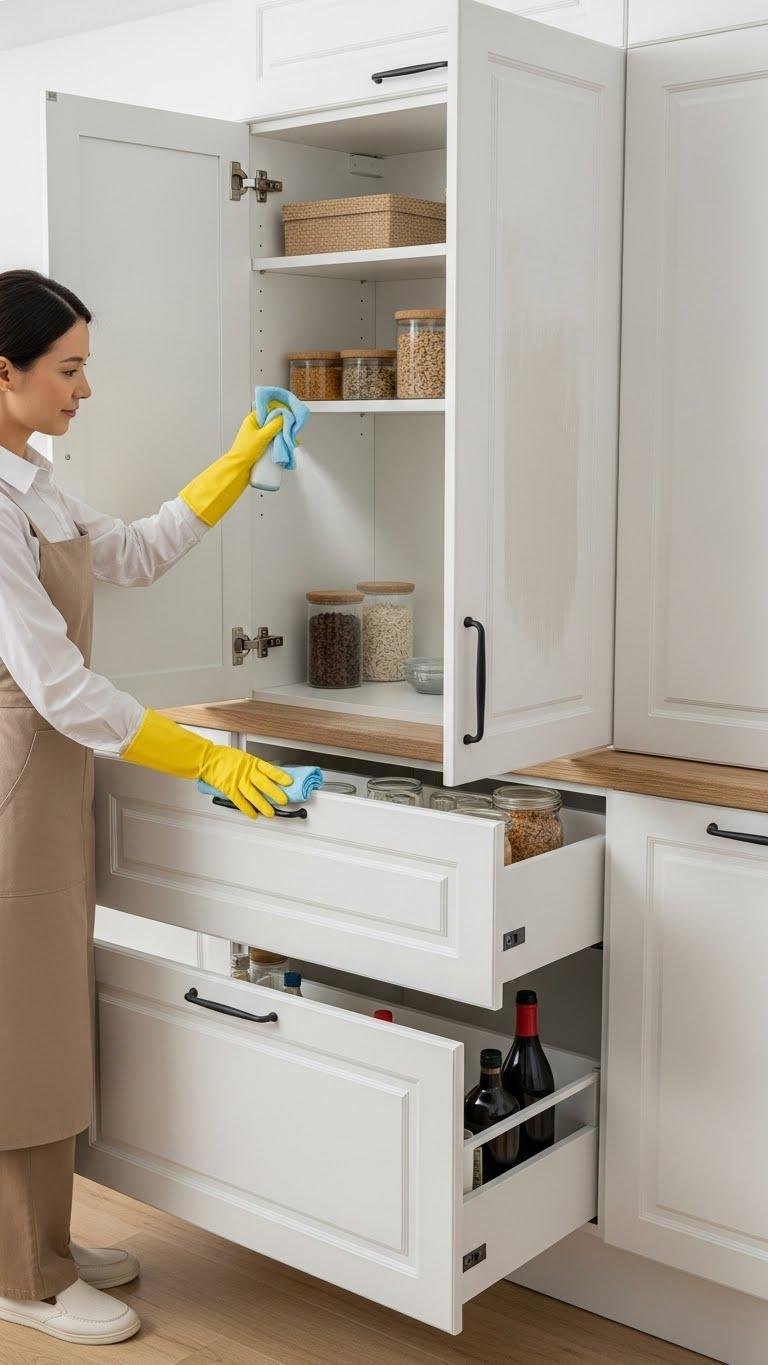
Open cabinet doors and pull out drawers so you can see corners and surfaces clearly, then remove loose items and liners before you clean.
Wipe interiors with a mild disinfectant, focusing on handles, edges and soft close hinges. Dry thoroughly to prevent warping.
Return items sorted and wiped. Buff fronts to remove finger smudges. Maintain a simple routine to keep cabinets fresh and functional.
Clean Wall Tiles and Remove Mildew

With a stiff brush and the right cleaner you’ll remove grime and mildew from wall tiles quickly and prevent regrowth. Scrub grout lines, rinse thoroughly, and dry to stop spores.
Use steam cleaning for deep sanitizing and try natural remedies like vinegar or baking soda for light stains. Seal grout when dry.
Maintain ventilation and wipe tiles weekly to keep freedom from buildup.
Deep Clean Sink Basins and Drains
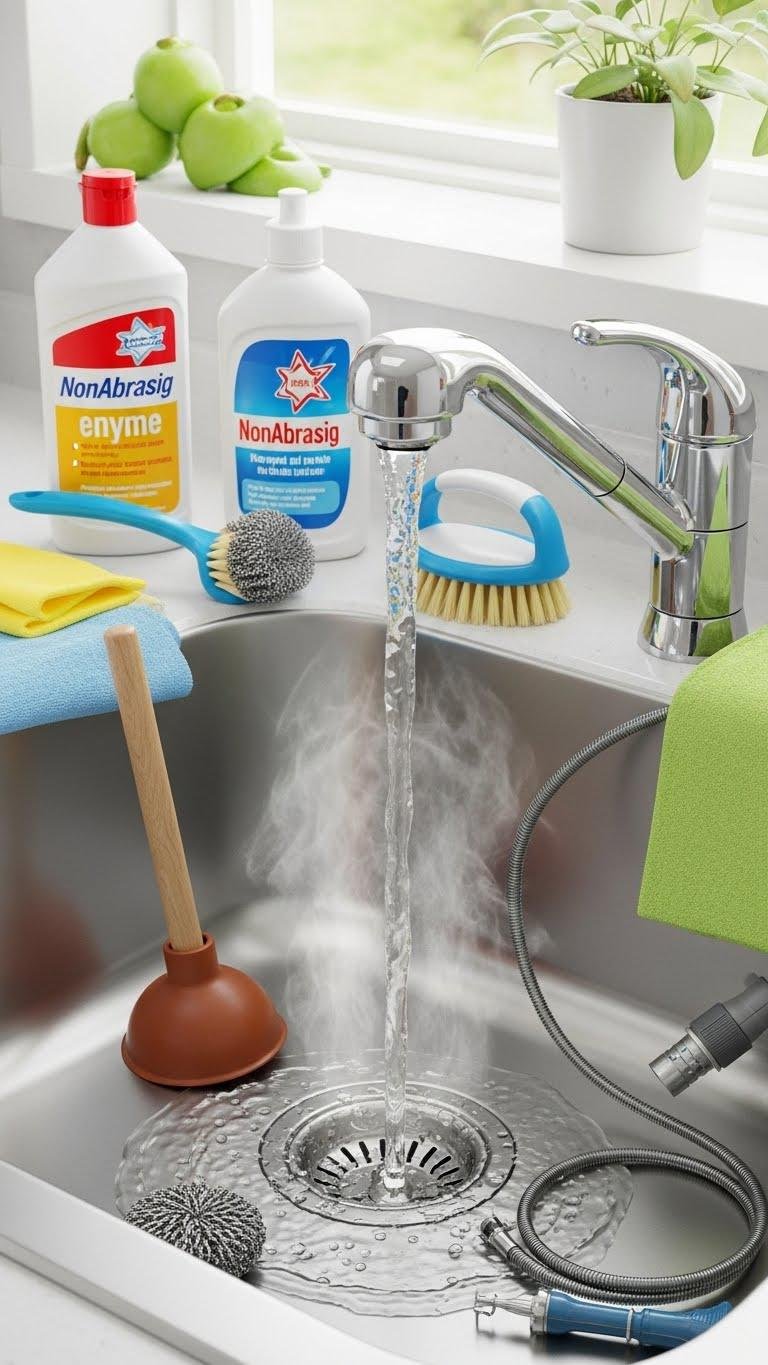
Start by clearing the basin and flushing the drain so you can see and access build-up; then tackle grime, soap scum, and mineral deposits systematically.
Scrub with a nonabrasive cleaner, rinse, and use enzyme cleaners to dissolve organic residue. Flush with hot water, apply odor neutralizers, and run the tap. Inspect traps and use a plunger or snake for persistent clogs.
Mop and De-grease Bathroom Floors
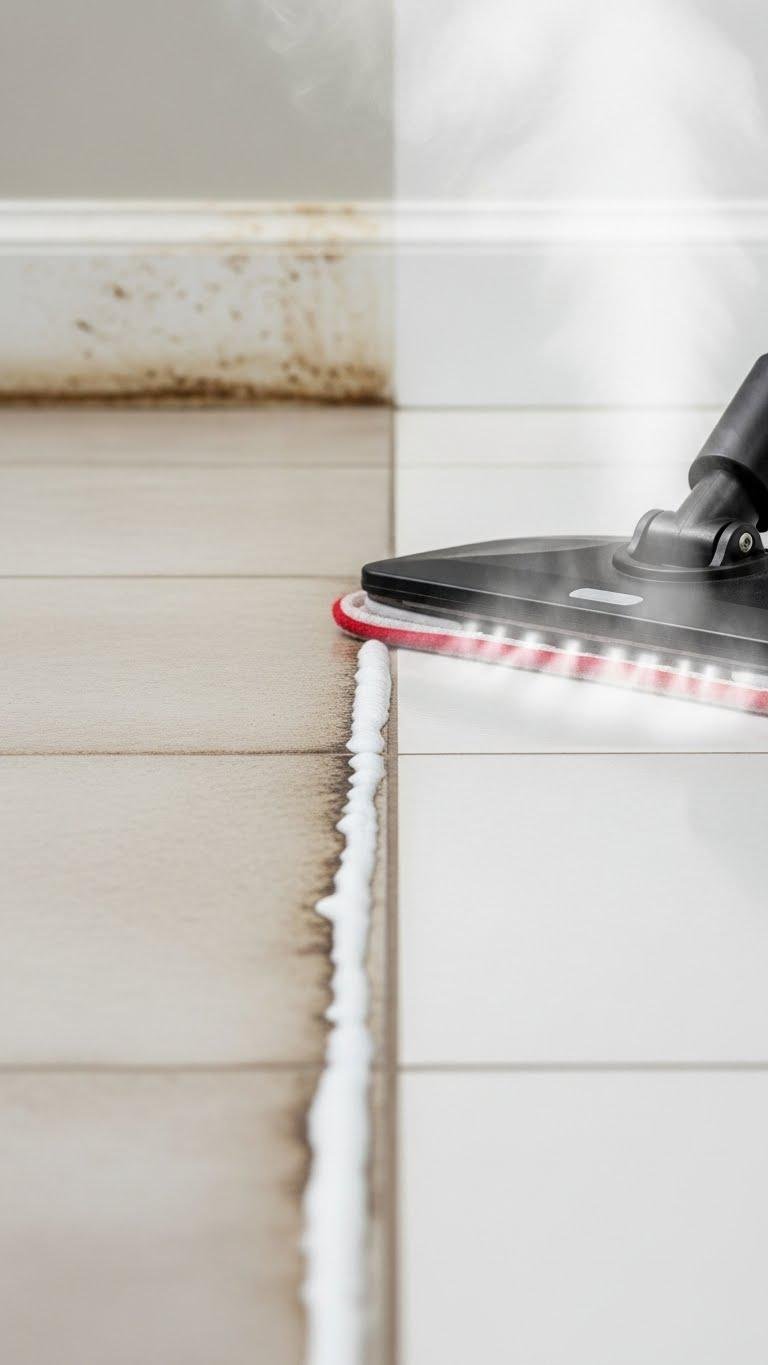
After clearing and treating the sink and drains, move on to the floors where grease, hair, and soap residue collect along baseboards and in grout lines. You’ll sweep, pre-treat stained grout with an enzymatic cleaner, then rinse.
Use a steam mop or damp mop for tiles and sealed vinyl, working outward. Dry thoroughly to prevent streaks and restore freedom to your space.
Clean and Sanitize Trash Cans and Liners
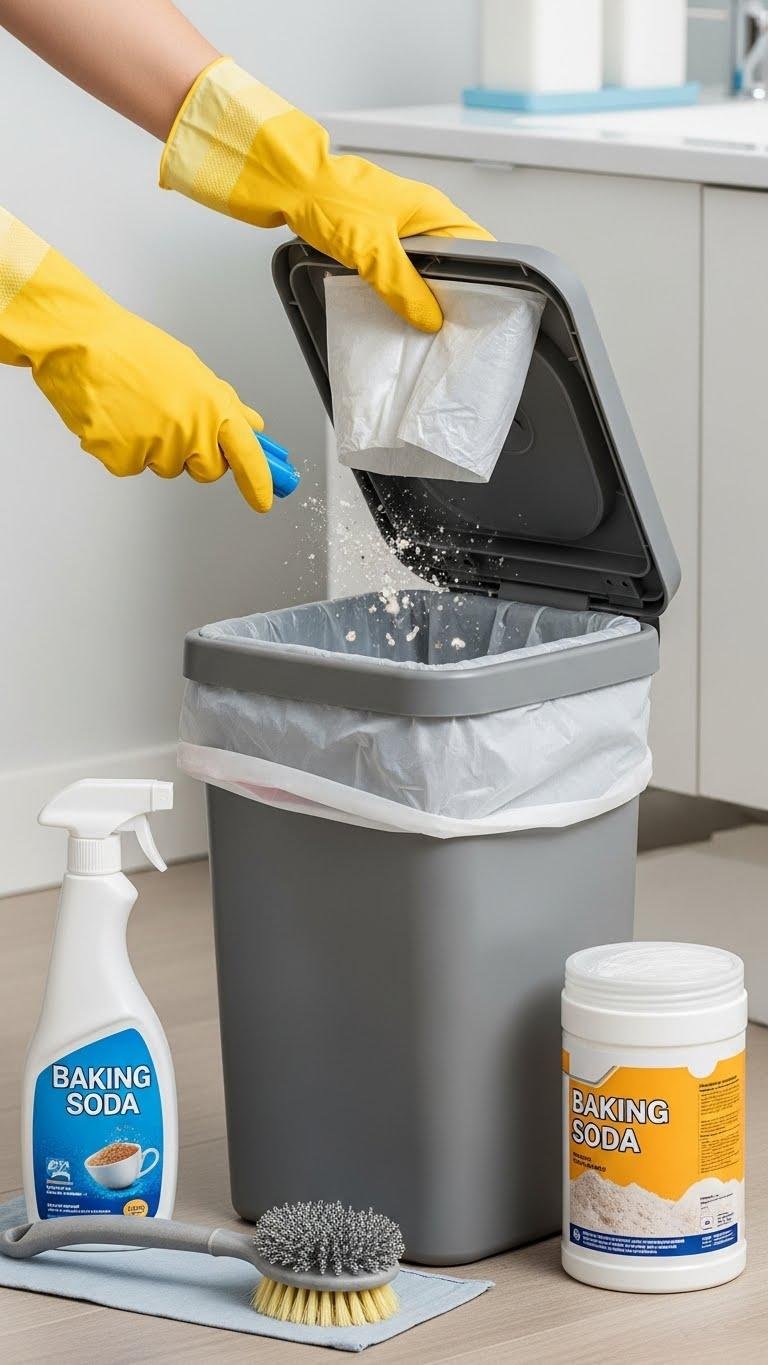
Tackle the trash can next: remove the liner, shake out loose debris, and inspect for stuck-on gunk along the rim and base. Put on appropriate glove selection, scrub with disinfectant, rinse, and air-dry upright. Wipe the lid and seals, replace with a fresh liner, and add a simple odor control measure like baking soda or a charcoal packet so your bathroom stays clean and free.
Replace and Organize Towels and Linens

Fresh, clean linens make your bathroom feel intentional and hygienic, so swap damp or worn towels for dry ones and sort them by size and purpose—hand, bath, and face—before rehanging or folding.
You’ll set a simple system: color coordination for a calm look, label storage, and schedule linen rotation to extend life. Stash extras neatly so you can grab freedom fast.
Freshen the Air With Ventilation and Deodorizers
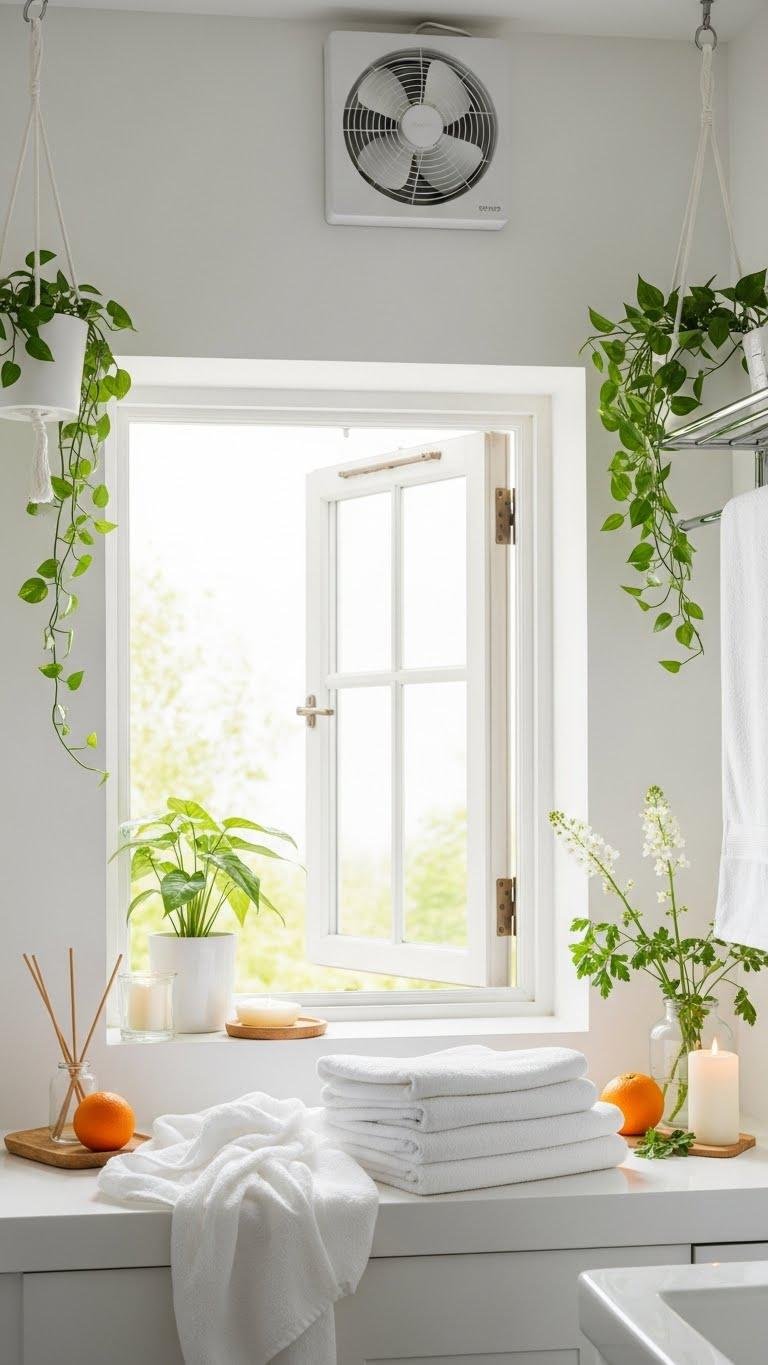
Clean, dry linens set the tone for a hygienic bathroom, but air quality finishes the job—poor ventilation and stale odors will undo that freshly laundered feeling.
You’ll boost freshness by running exhaust fans, airing windows, and using air purifying plants or devices. Add subtle scent layering with neutral base notes plus a citrus or herbal top note to keep the room liberating and clean.
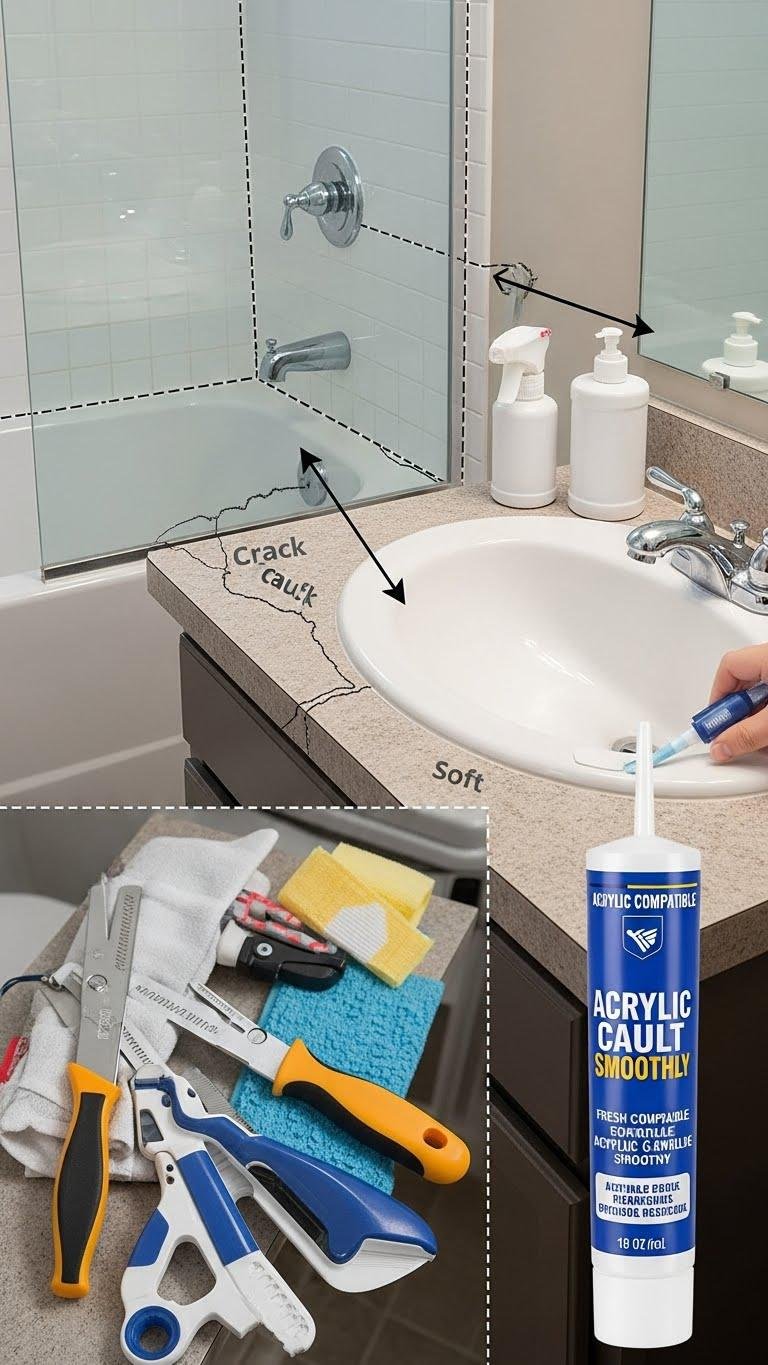
Inspect Caulking and Re-seal Where Needed
Paragraphs
Start by closely examining all caulk lines around tubs, showers, sinks, and countertops for cracks, gaps, or soft, crumbly sections that let water through.
You’ll remove failed caulk, perform mildew detection, clean surfaces, and choose sealant with acrylic compatibility if needed.
Apply new caulk smoothly, tooling the bead for a tight seal, and let it cure before using the area.