
You can refresh your bathroom without calling a pro by tackling smart, budget-friendly projects that look and last like upgrades. Picture mildew‑resistant satin paint, new semi‑gloss trim, swapped hardware or a painted vanity, peel‑and‑stick flooring, fresh grout, and a modern faucet — all doable with basic tools. I’ll walk you through practical steps, materials, and quick wins that add polish and function, and there’s one trick that makes every makeover feel finished.
Paint Walls and Trim for a Fresh Look
Paragraphs
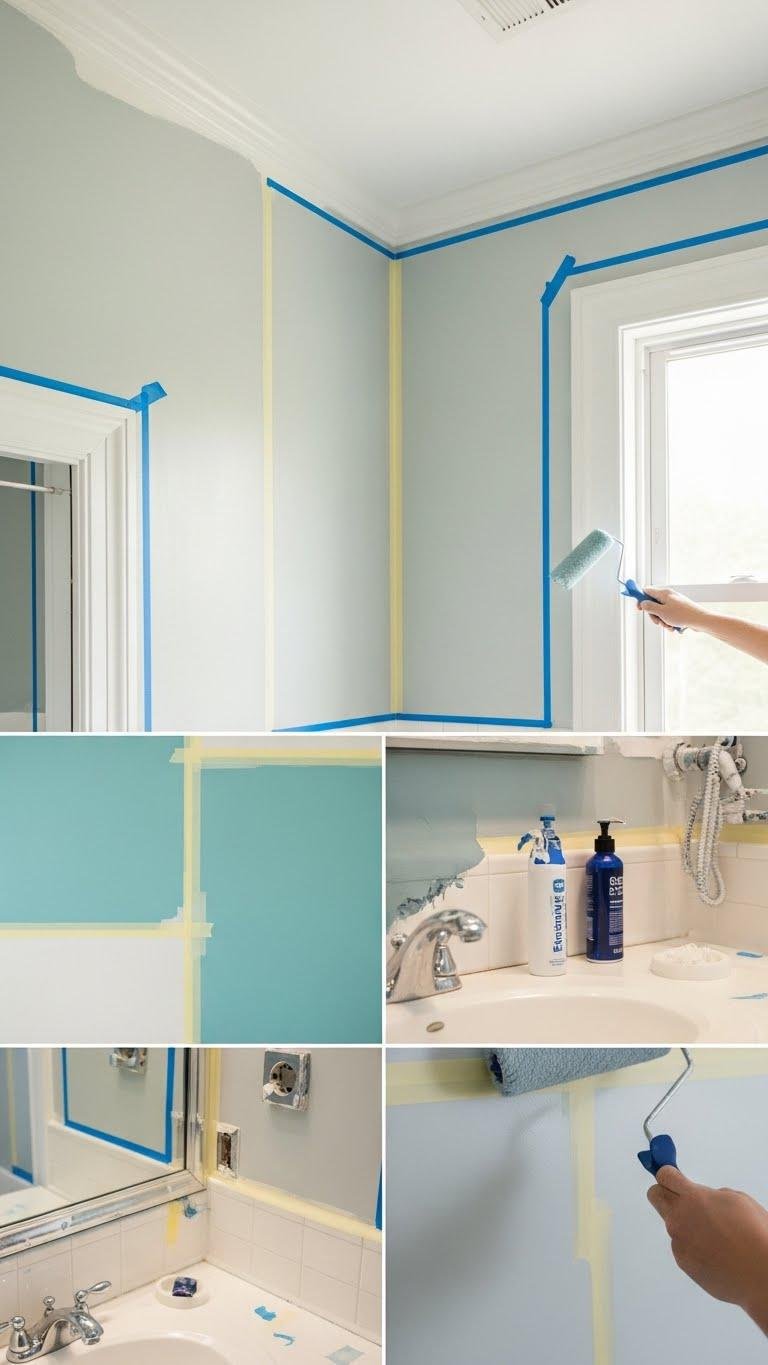
If you want a quick, high-impact update, painting the walls and trim will change the whole bathroom’s feel; choose a durable, mildew-resistant paint for walls and a semi-gloss for trim to tolerate moisture and cleaning.
You’ll plan color blocking zones, pick a satin finish for softness on larger surfaces, tape clean lines, sand lightly, and roll in even strokes so the space feels open and free.
Refinish or Paint Vanity Cabinets
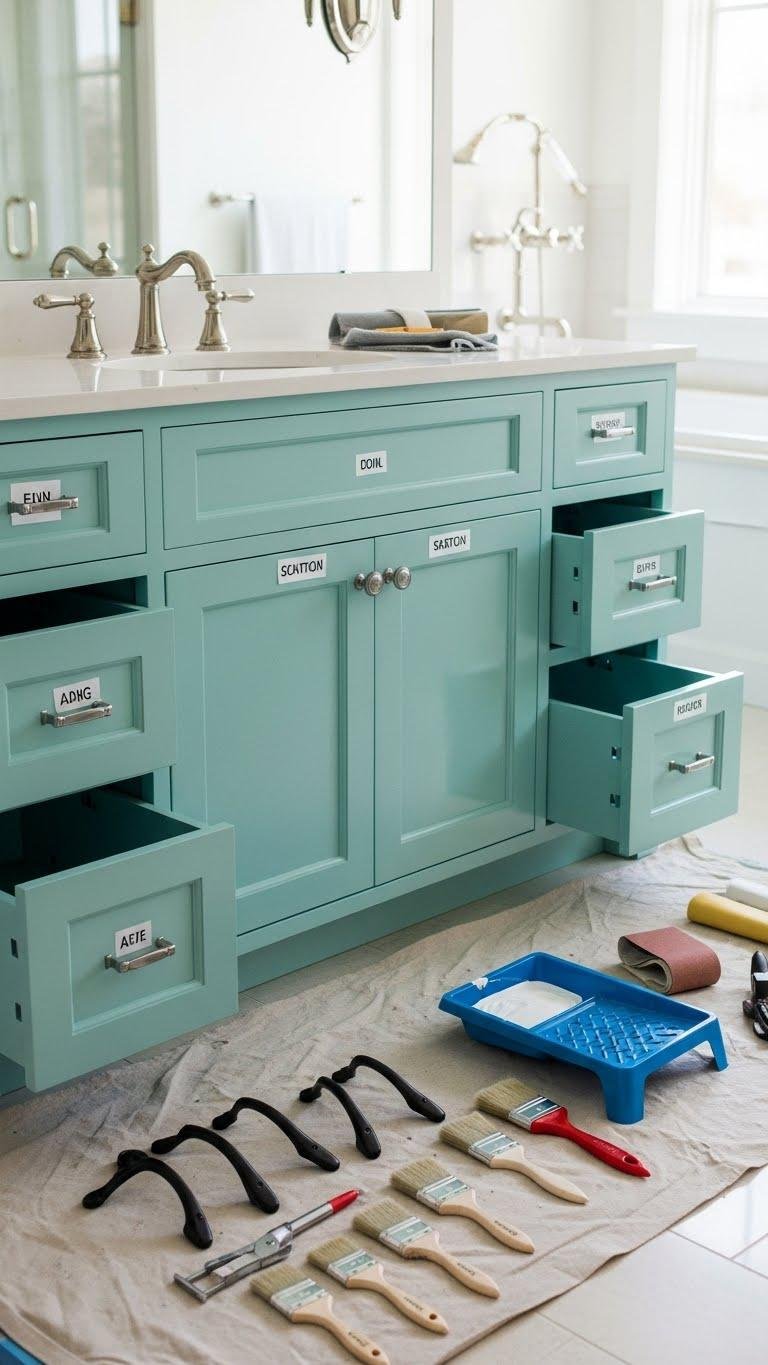
Refinish or paint your vanity cabinets to give the room a polished, updated look without replacing them; start by removing hardware, labeling doors and drawers, and taking clear photos so you can reassemble everything correctly.
Sand lightly, or use chalk paint for minimal prep, apply thin coats, sand between layers, then seal with a durable gloss topcoat.
Reattach hardware and enjoy liberated style.
Replace Faucet and Sink Hardware

When you swap out the faucet and sink hardware, you’ll immediately change both the look and function of the vanity—start by cutting the water supply, then remove the old fixtures while photographing each connection and nut for reference.
You’ll choose water efficient faucets, test fit parts, seal with plumber’s tape, and tighten mounting nuts.
A careful DIY sink installation gives you control and lasting results.
Swap Out Light Fixtures and Bulbs

Swap out dated fixtures to instantly brighten the room and improve task lighting: start by turning off the circuit at the breaker and confirming the power’s off with a voltage tester, then remove the old fixture’s screws and gently lower the canopy to expose the wiring.
Choose fixtures that match your style, wire neutrals and grounds, install dimmable switches, and pick bulb temperature for mood and clarity.
Install a New Shower Head and Controls
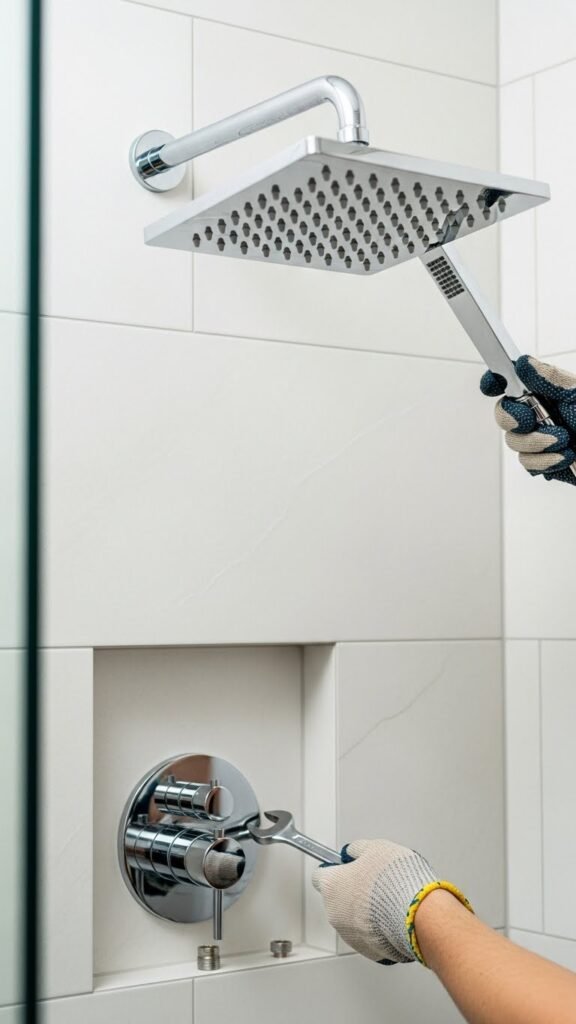
Upgrade your shower by replacing the head and controls to improve water flow, temperature response, and overall comfort. You’ll swap old fittings for low flow models, install thermostatic controls or pressure balanced valves, and add handheld showerheads for flexible rinsing.
Measure pipe size, shut water off, use plumber’s tape, and tighten fittings. Enjoy efficient, reliable performance that frees your routine.
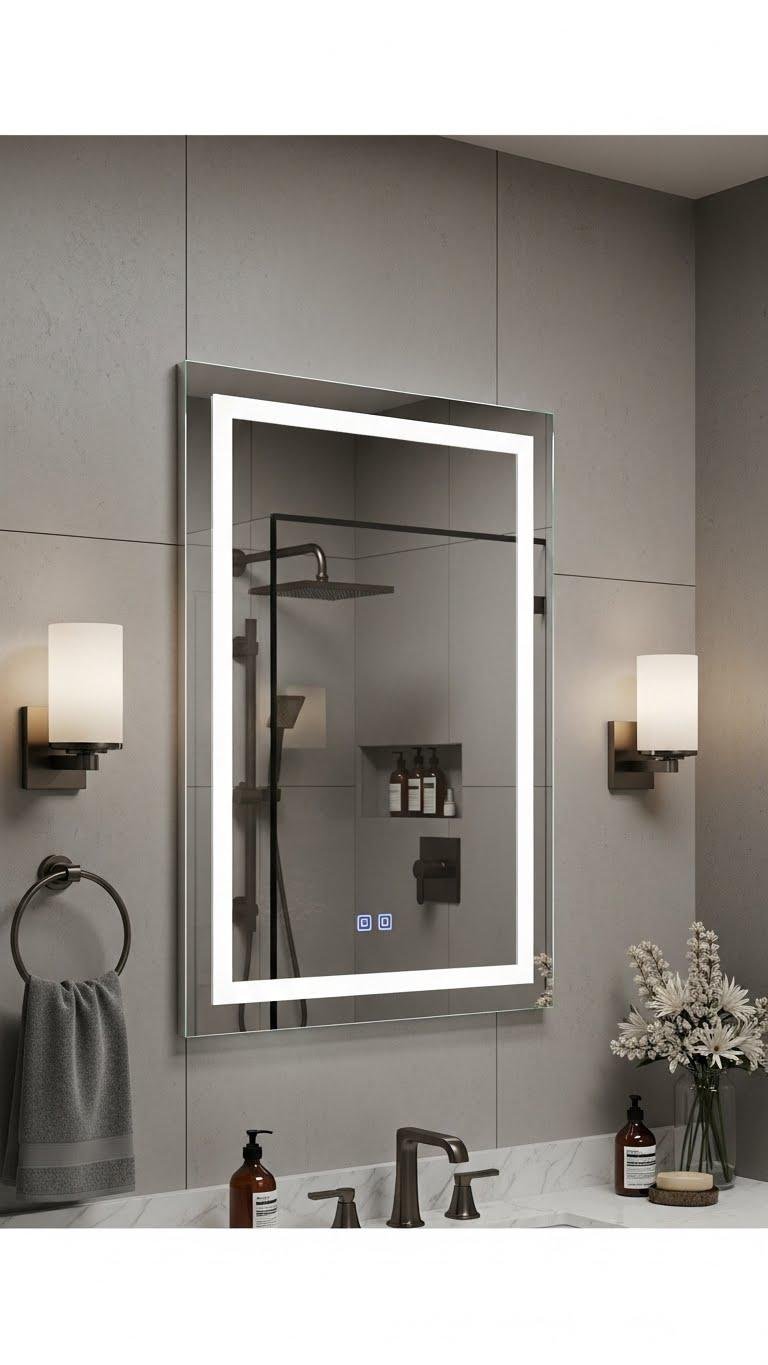
Add a Frameless or Styled Mirror
Paragraphs
Update Cabinet and Drawer Pulls
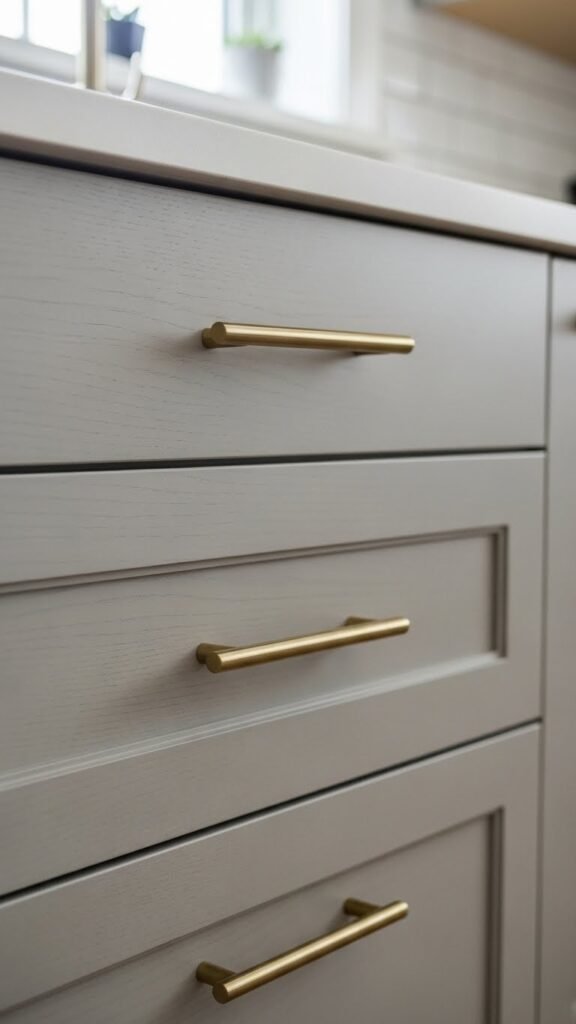
Give your cabinets an instant facelift by replacing the pulls and knobs with finishes and styles that match the room’s hardware and lighting.
You’ll swap outdated handles for modern knobs or slim pulls, aligning color and scale.
Measure hole spacing, use a template, and tighten securely.
Consider magnetic catches for soft, clean closures.
Small changes free the space and refresh daily routines.
Regrout and Reseal Tile Surfaces

When you strip away grime and failing sealant, fresh grout and a new seal restore your tile’s look and protect against water damage; start by testing grout lines for loose or crumbly material, then scrape or use a grinder to remove all deteriorated grout to a clean, sound depth. You’ll follow with grout cleaning, apply new grout neatly, cure, then do seal maintenance to lock moisture out and enjoy a liberated, durable space.
Lay Peel-and-Stick Vinyl Flooring

Start by laying out your materials and clearing the room so you can work uninterrupted: peel-and-stick vinyl planks or tiles, a straightedge, utility knife, measuring tape, chalk line, roller, and a broom or vacuum.
Prepare for precise surface prep, clean and dry.
Snap chalk lines, measure, and use a confident cutting technique for tight fits.
Peel, press, roll seams, trim edges for a freeing, polished floor.
Build and Mount Open Shelving
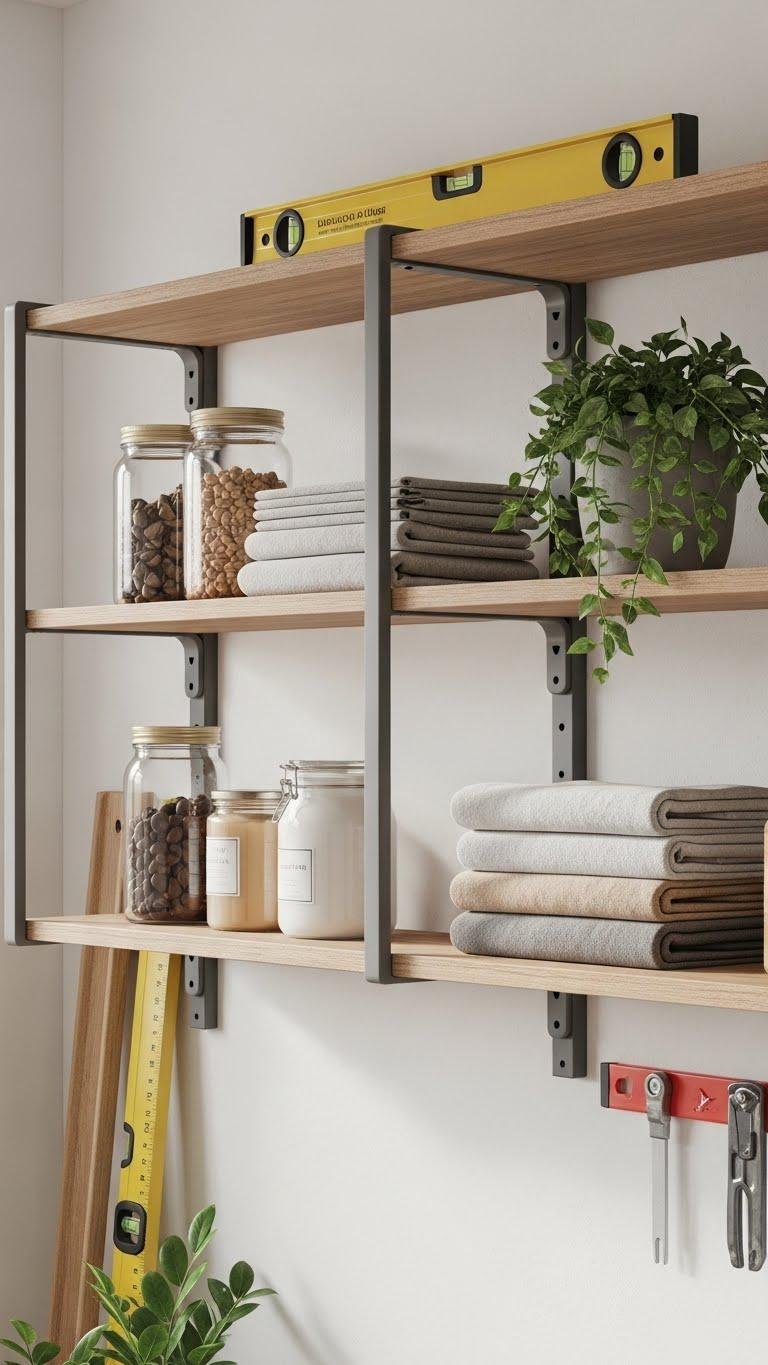
Cut and assemble your shelving components to fit the wall space, then mount them securely so the finished shelves look intentional and hold weight safely.
Measure stud spacing, mark levels, use a spirit level and pilot holes.
Choose open brackets or industrial brackets for the aesthetic and support, tighten fasteners, and test load capacity.
Style with folded towels, jars, and plants to keep freedom in your layout.
Create a Tile Accent Wall or Backsplash

Paragraphs
Give your wall a focal point by laying a tile accent or backsplash that balances pattern and function, and plan the layout before you mix mortar.
Sketch tile placement, account for cuts, and pick mosaic patterns that suit scale.
Test grout colorations on a spare tile, set spacers for even joints, and trim edges cleanly so your wall looks intentional and free.
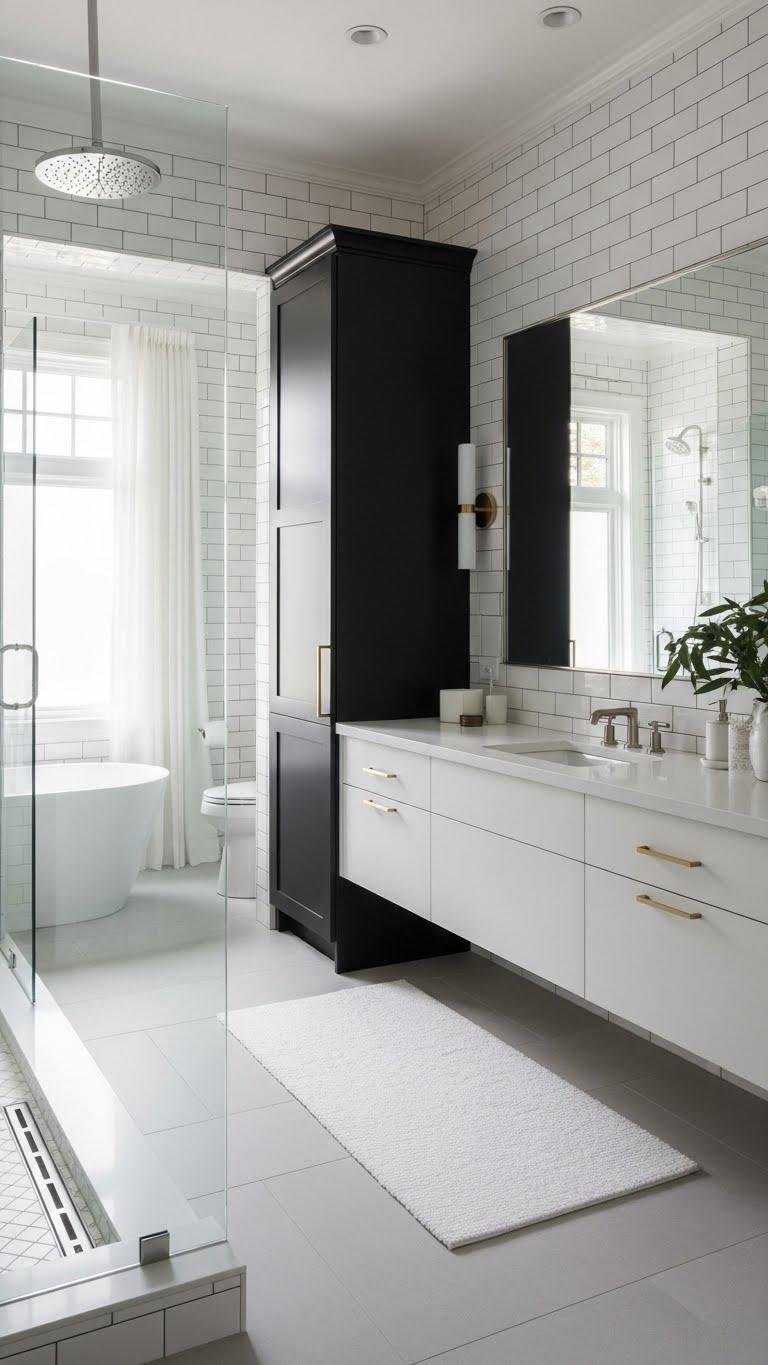
Install a Floating Vanity
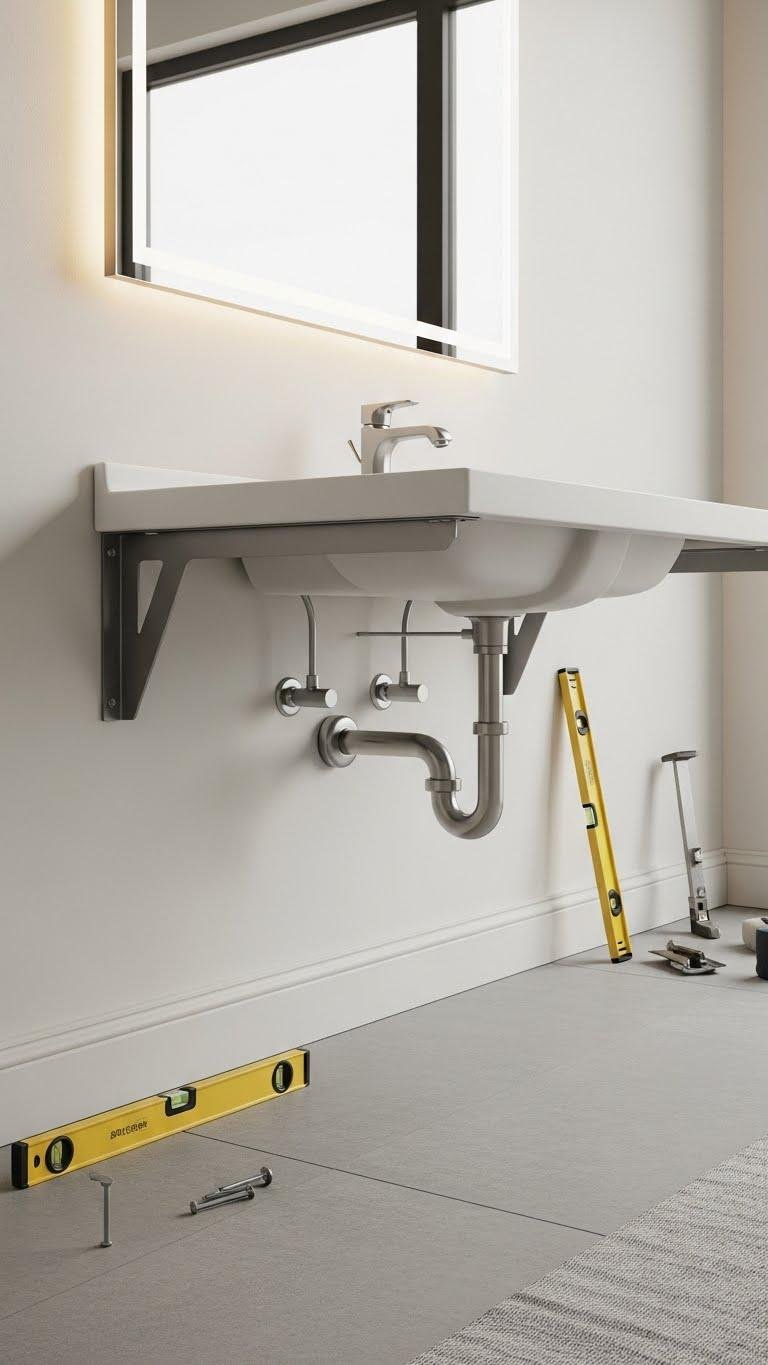
Mount the floating vanity securely so it looks effortless but performs like furniture — locate and mark studs, then fix a reinforced ledger or mounting bracket level to the wall at the exact finished height.
You’ll route hidden plumbing into the wall, allow clearance for a floating baseboard, and fasten the cabinet with lag screws. Finish edges, test stability, and enjoy open-floor freedom.
Replace or Refinish Toilet Seat and Lid
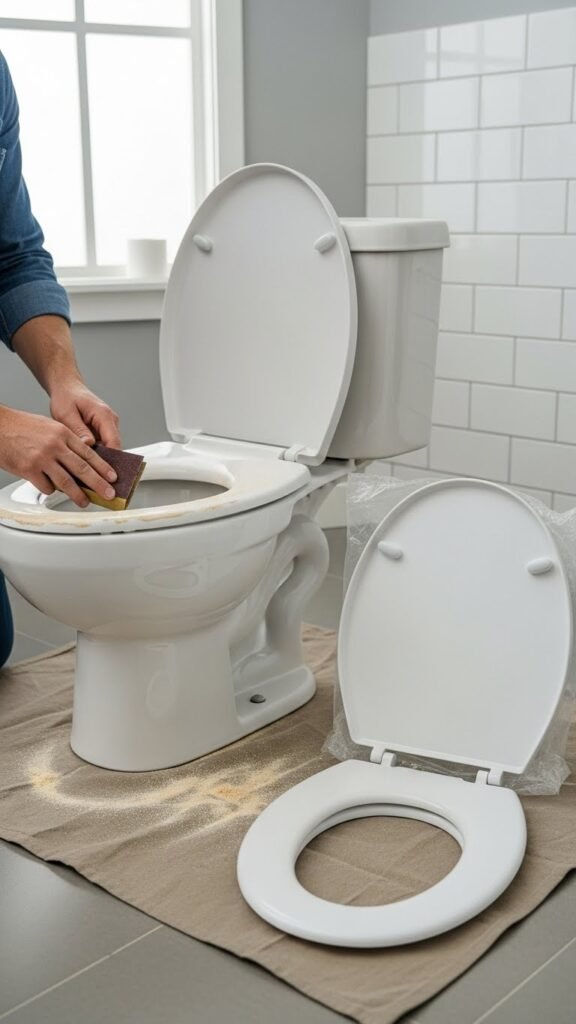
After the sleek floating vanity is firmly in place, turn your attention to a small but high-impact upgrade: replacing or refinishing the toilet seat and lid.
Choose a durable material, install a quick release hinge for easy cleaning, and fit cushioned bumpers for quiet closure.
Sand, paint, or swap the lid to match your palette—small changes that free up style and function instantly.
Add Functional Grab Bars for Safety
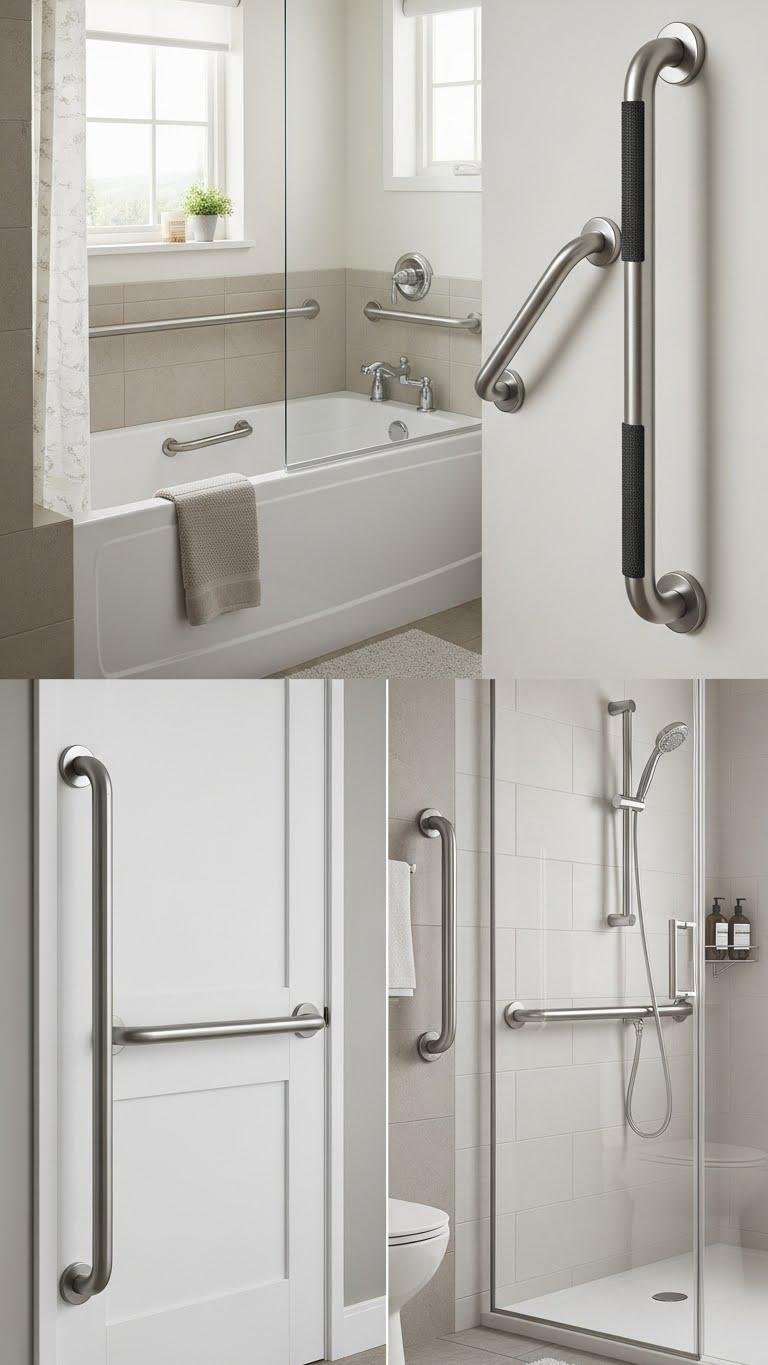
Paragraphs
Create a DIY Vanity Tray and Organizer
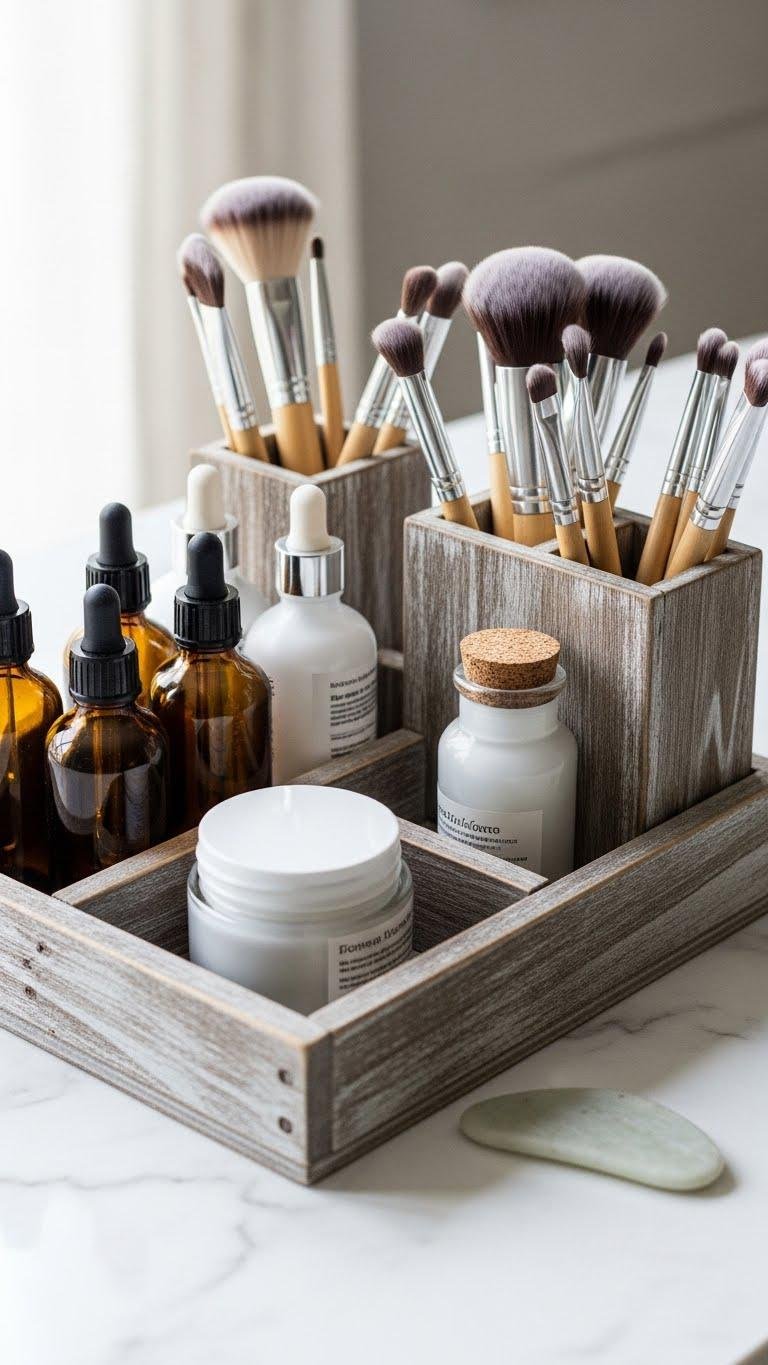
Clear the clutter and bring order to your countertop by crafting a custom vanity tray and organizer that fits your space and routine. Choose reclaimed wood or acrylic, measure for bottles and brushes, and add removable dividers for flexibility.
Combine shallow minimalist trays with compact vertical organizers for brushes and skincare. You’ll create a tidy, free-flowing station that’s easy to adapt and maintain.
Install a Towel Warmer or Stylish Towel Rack

Whether you want gentle warmth for chilly mornings or a sleek statement piece, installing a towel warmer or stylish rack turns damp linens into a cozy, organized feature. You’ll mount a heated ladder or wall unit, hardwire or plug in per instructions, and position a towel valet near the shower for easy reach.
Choose finishes that free your style and streamline drying.
Add Window Treatments or Frosted Film
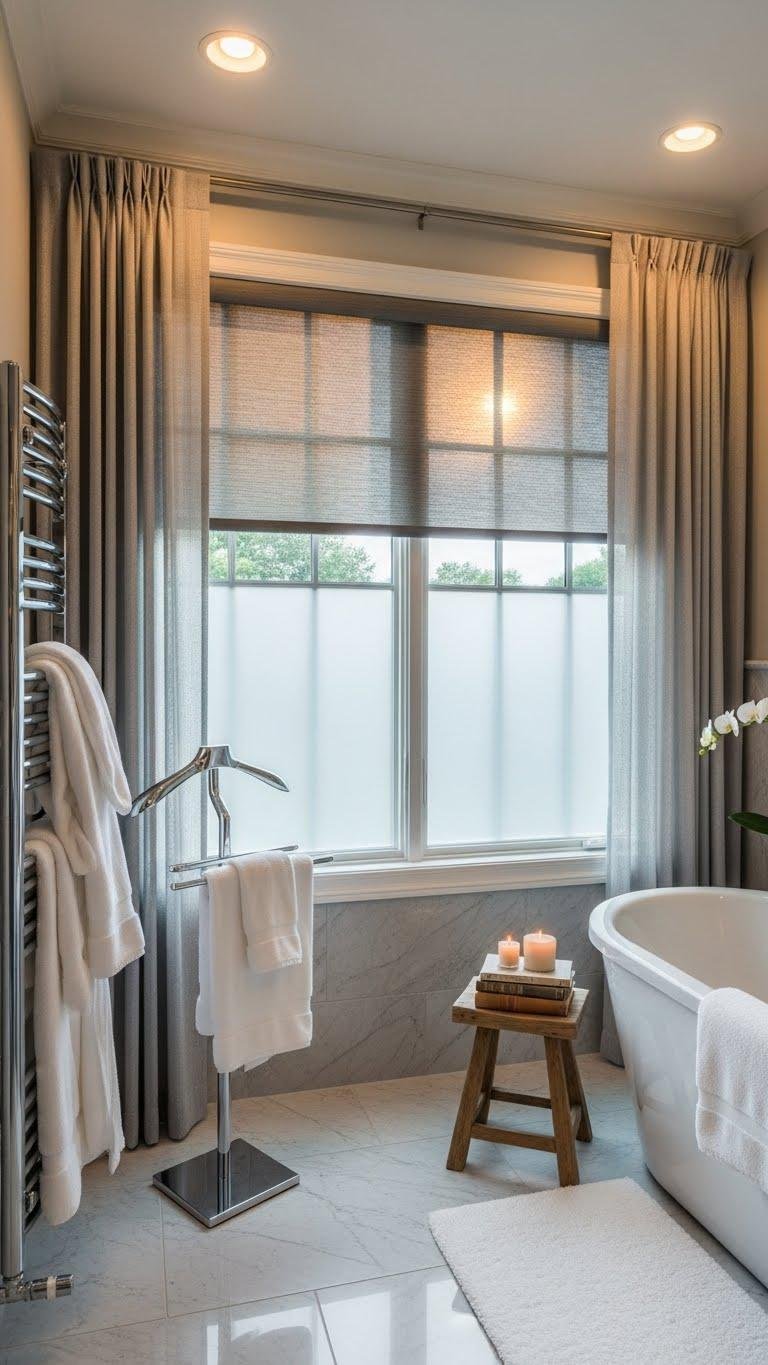
If your towel warmer and valet have made the bathing area cozier, finish the room by controlling light and privacy with window treatments or frosted film. Choose frosted film for full-coverage opacity or install privacy curtains on a moisture-resistant rod.
For adjustable daylight and glare control, mount solar shades inside the frame. Measure precisely, trim cleanly, and secure hardware for a freeing, polished result.
Paint or Wallpaper an Accent Wall
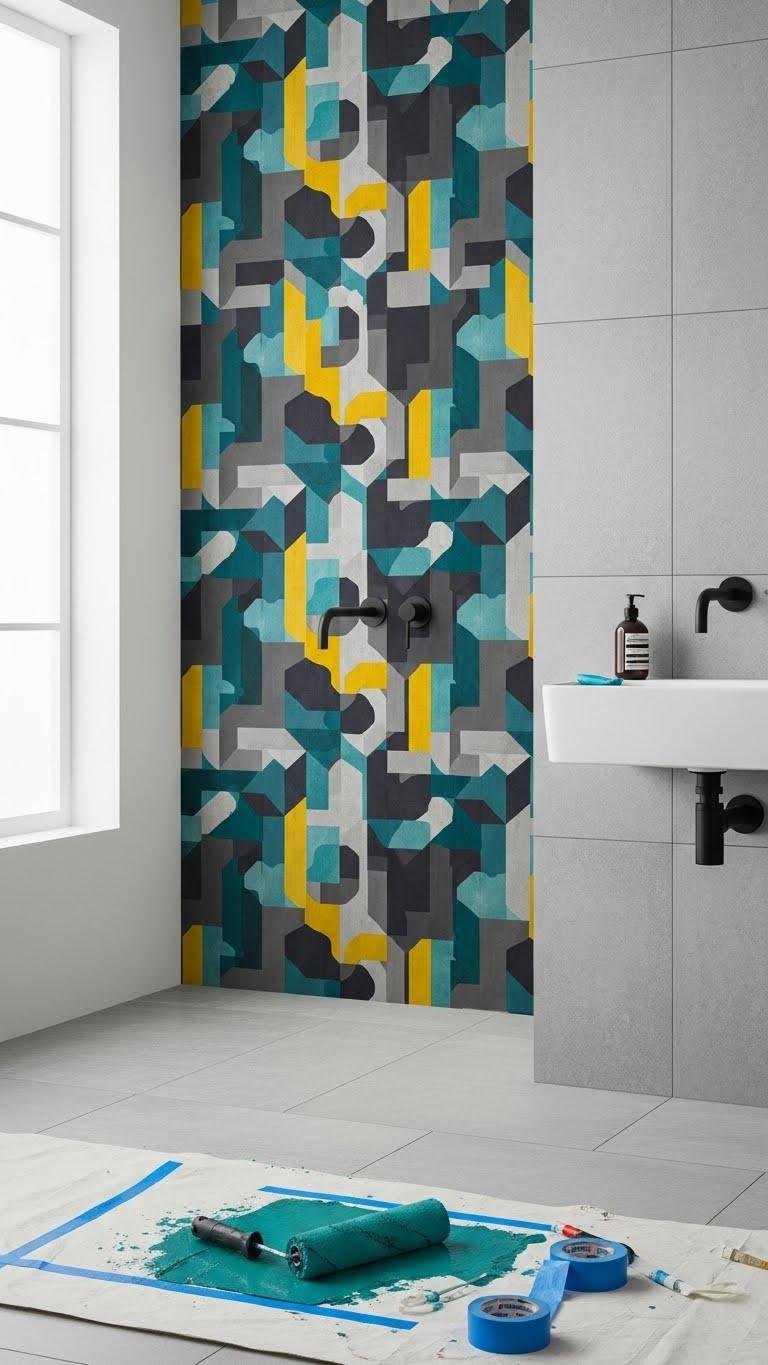
Pick a wall and make it the room’s focal point by painting or papering a single accent wall that complements your fixtures and tile. You can layer a textured finish with a roller or apply bold removable panels for pattern without permanence.
Measure precisely, mask edges, and choose mildew-resistant paint or vinyl paper. Work in sections so you control color, scale, and freedom to change later.
Swap Doors and Hardware for Instant Update
When you replace dated cabinet doors and tired hardware, the room instantly looks cleaner and more modern without a full remodel. Swap flat panels for hinged barndoors painted matte black or soft white, and trade knobs for slim brass pulls.
Consider glass pocketdoors for a light, airy feel between toilet and shower. Tight measurements and simple templates keep installation fast and freeing.
Rewire or Add Outlet and Nightlight Upgrades
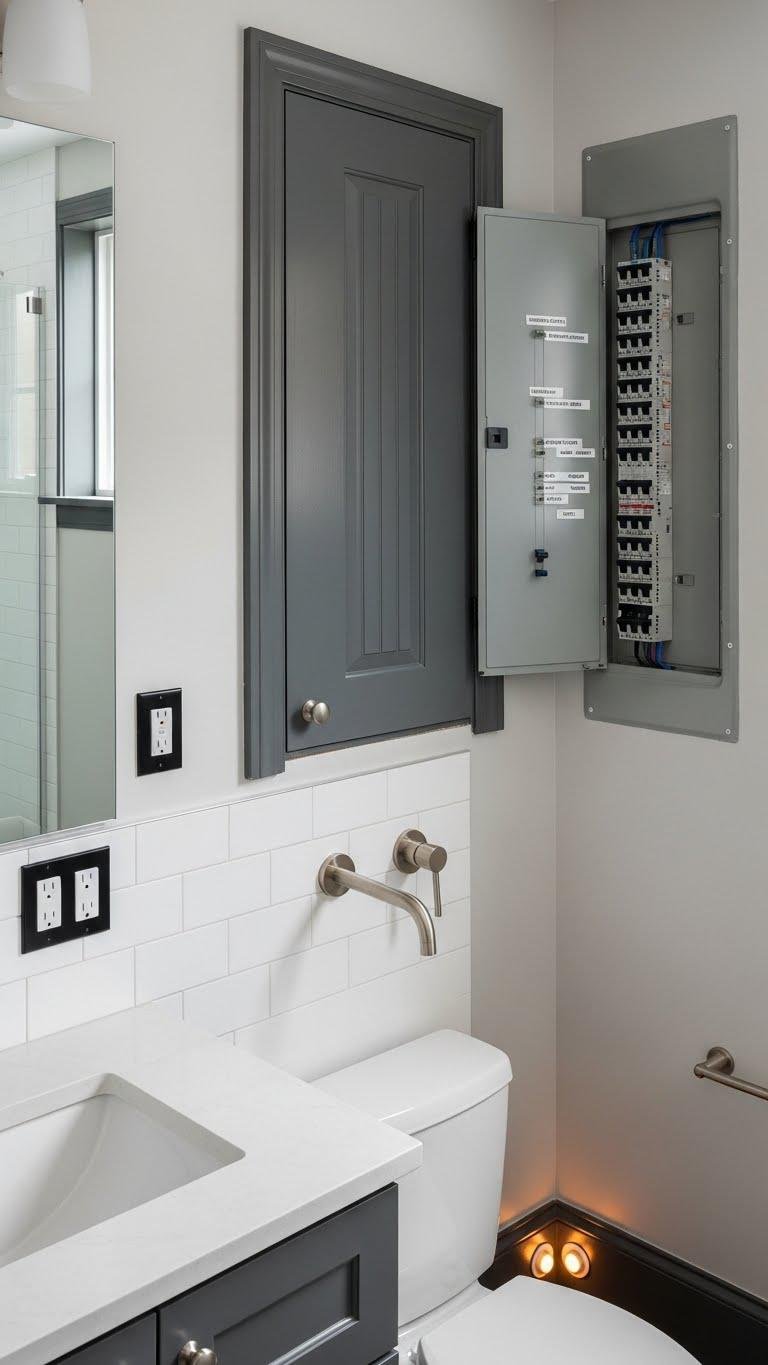
After swapping doors and hardware to freshen the look, upgrade the room’s functionality by adding outlets and a nightlight so the space feels modern and safe as well as stylish. You can plan GFCI relocation near wet zones, mount a new tamper‑resistant outlet by the vanity, and install programmable nightlights for soft guidance.
Label circuits, shut power, and test thoroughly.
Refresh Decor With Plants, Rugs, and Accessories
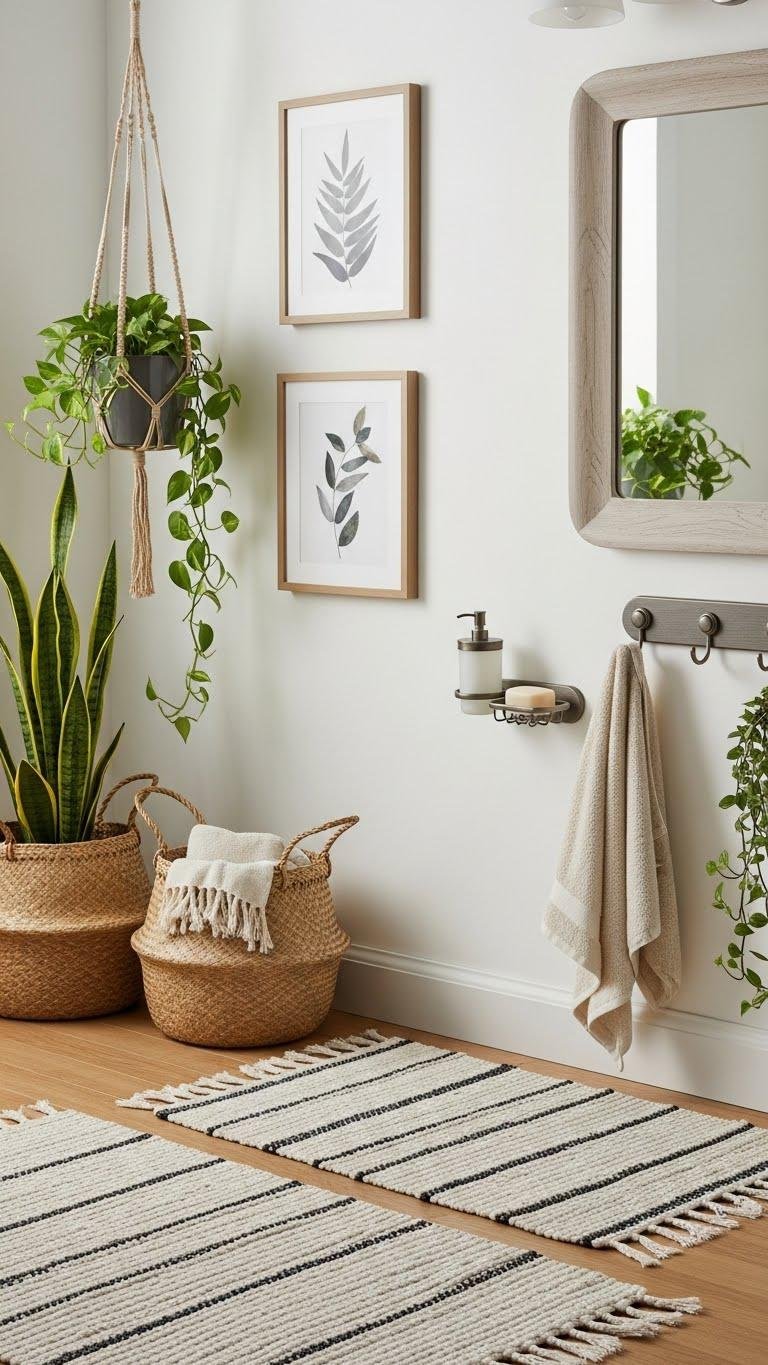
Looking to bring warmth and personality into your refreshed bathroom? Choose textured rugs, woven baskets, and minimal art to frame space.
Add low light plants like snake or pothos in hanging planters to free up counter space and soften corners.
Match metal finishes with small accessories—soap dish, hooks, mirror frame—for a cohesive, liberated vibe that feels intentional and easy to maintain.