
You can make your studio work smarter, not harder, with simple storage fixes that save space and speed your workflow. Start by using walls, doors, and under-table nooks to free up your main surface, and pick modular pieces that move with your projects. These practical, budget-friendly ideas will help you tame small supplies, create clear zones, and keep tools within reach—so you’ll actually want to start your next project.
Maximize Vertical Space With Wall-Mounted Shelves
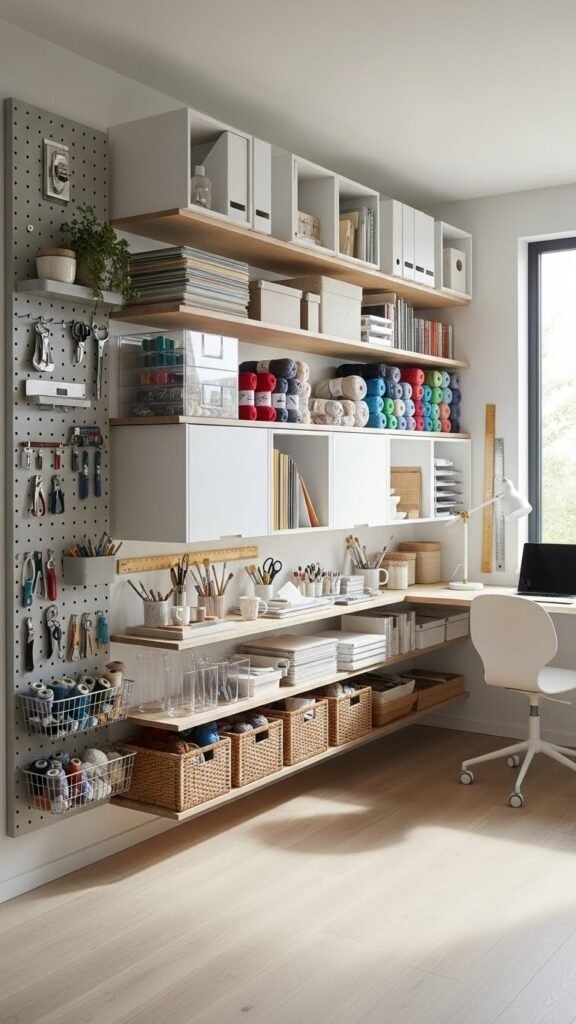
Wall-mounted shelves free up floor space and keep your supplies visible and within reach, so you can work faster and stay organized. Mount floating cubbies and slim cabinets to stash paper, yarn, and tools. Add vertical pegboards nearby for hooks and baskets, but avoid cluttering main storage.
You’ll gain freedom to move, see everything, and change layouts quickly as projects demand.
Install a Pegboard for Tools and Small Supplies
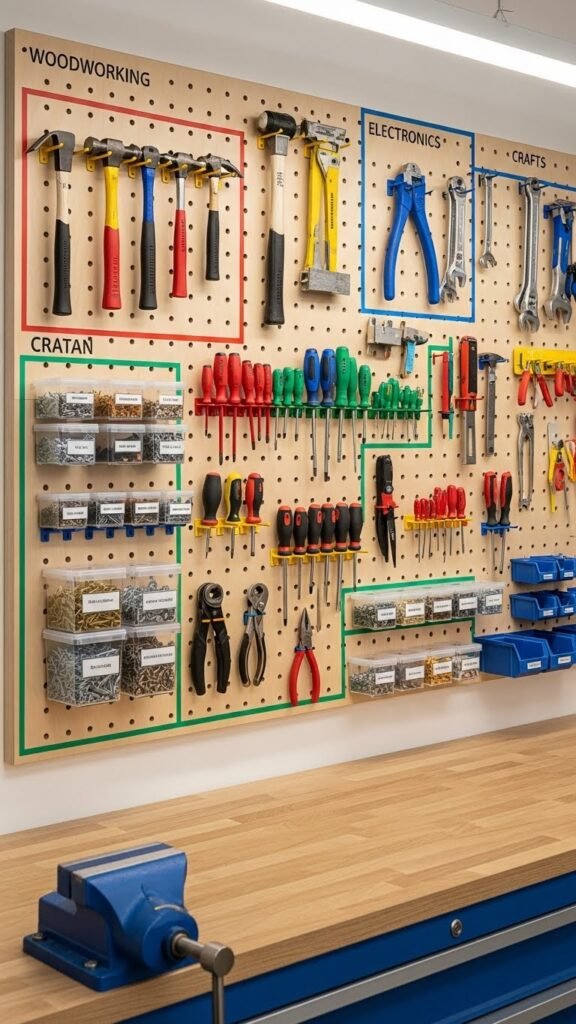
When you install a pegboard, you’ll create a flexible, visible system for tools and small supplies that keeps everything within arm’s reach; hooks, bins, and shelves let you tailor the layout to each project and change it in seconds.
Mount it at a reachable height, mix pegboard aesthetics with practical placement, label zones, and plan seasonal swaps so your space adapts as your creativity does.
Use Cube Organizers for Sturdy Vertical Storage

Stand tall with a cube organizer to gain sturdy, vertical storage that makes the most of limited floor space.
You’ll stack modular cubes to customize sections for paper, yarn, and tools.
Anchor units with vertical reinforcement to prevent tipping.
Use bins and open shelves for quick access, keep zones flexible, and rearrange freely as your projects and needs evolve.
Convert Closets With Labeled Bins and Door Organizers
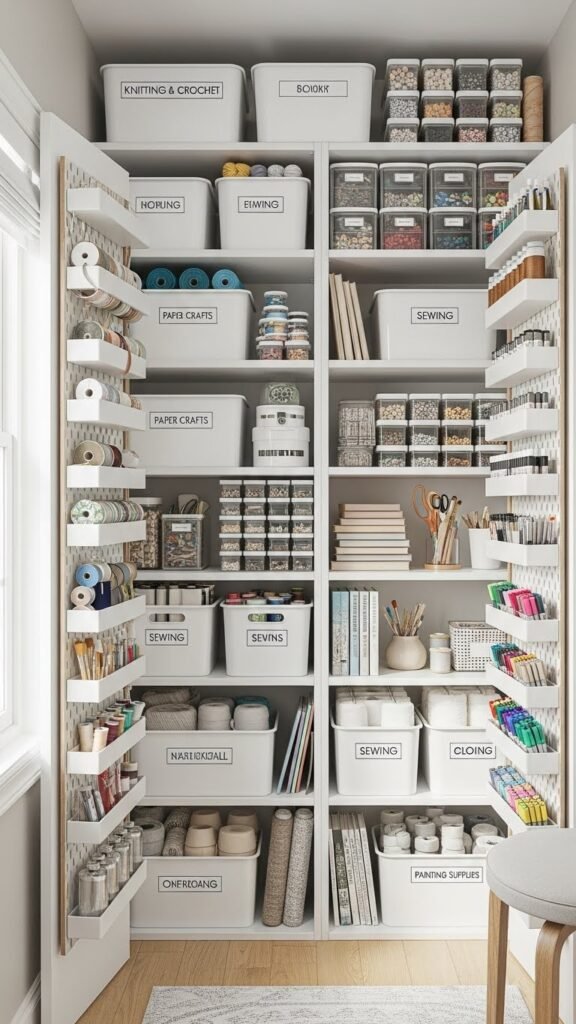
If you’re looking for another way to reclaim space, convert a spare closet into a craft hub with labeled bins and door organizers.
You’ll see everything at a glance, make seasonal swapping effortless, and free your creative flow. Label by project or material, schedule quick inventory audits, and use clear bins and slim door pockets to keep supplies accessible without clutter.
Employ Tiered Rolling Carts for Mobile Supply Storage

A tiered rolling cart turns cramped corners into a mobile supply station, letting you wheel tools and materials right to your workspace and tuck them away when you’re done.
Choose a compact cart with lockable wheels and varied tray depths. Label tiers for quick grabs, balance weight for smooth rolls, and embrace craft portability so your setup moves with your mood and freeing routines.
Keep Frequently Used Tools on Easy-Access Pegboards

Frequently, you’ll want your go-to tools where you can see and grab them in one motion, so mount a pegboard above your main work surface and arrange hooks, baskets, and shelves for scissors, rulers, and spools.
Keep tool rotation simple by designating zones, labeling spots, and swapping seasonal tools. Balance pegboard aesthetics with function so your space feels free, organized, and ready.
Add Inserts to Craft Carts for Organized Compartments

Many crafters find that adding inserts to your craft cart transforms jumbled drawers into purposeful compartments you can use immediately.
Use adjustable trays, divided compartments, and custom foam to size holders for tools, pens, and beads. You’ll grab what you need fast, stay mobile, and keep projects flowing.
Swap or remove inserts to adapt the cart as your creativity changes.
Choose Stackable Clear Bins for Visibility and Compactness

Several clear bins stacked neatly let you see supplies at a glance while saving shelf and cart space.
You’ll enjoy clear visibility of ribbons, paints, and tools, so you grab what you need fast.
Choose uniform, lockable bins for compact stacking, label fronts for quick sorting, and arrange by project or color.
This keeps your studio free, flexible, and focused on making.
Utilize Under-Table Drawers and Shelves
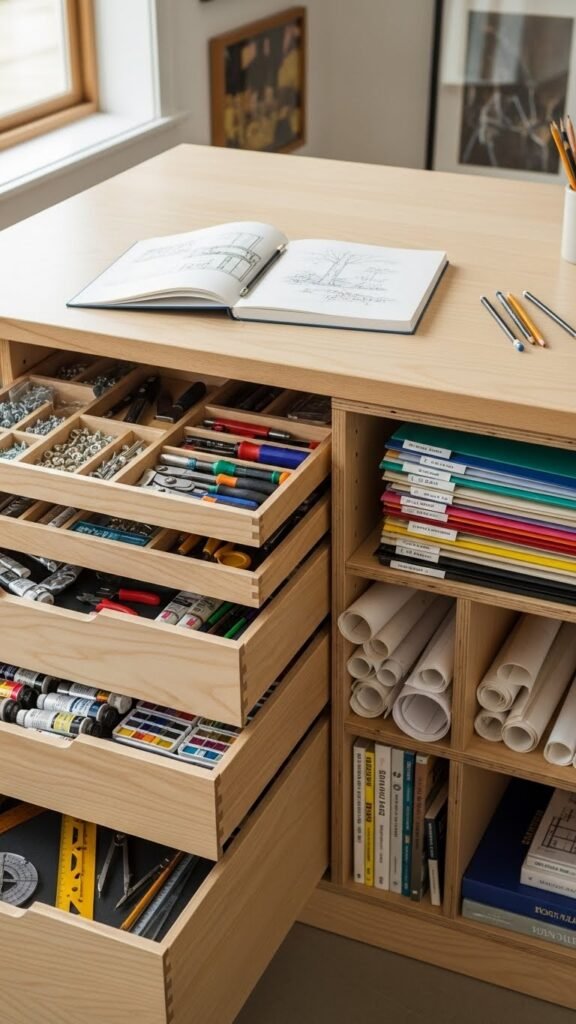
Tucked beneath your work surface, under-table drawers and shelves turn wasted space into instant storage for tools, small hardware, and in-progress projects.
Use hidden drawerways to keep supplies out of sight but within reach, and shallow cubbies for papers, rulers, and paint tubes.
You’ll stay organized, keep your tabletop clear, and maintain freedom to create without hunting for essentials.
Repurpose Jars, Tins, and Boxes for Small Items
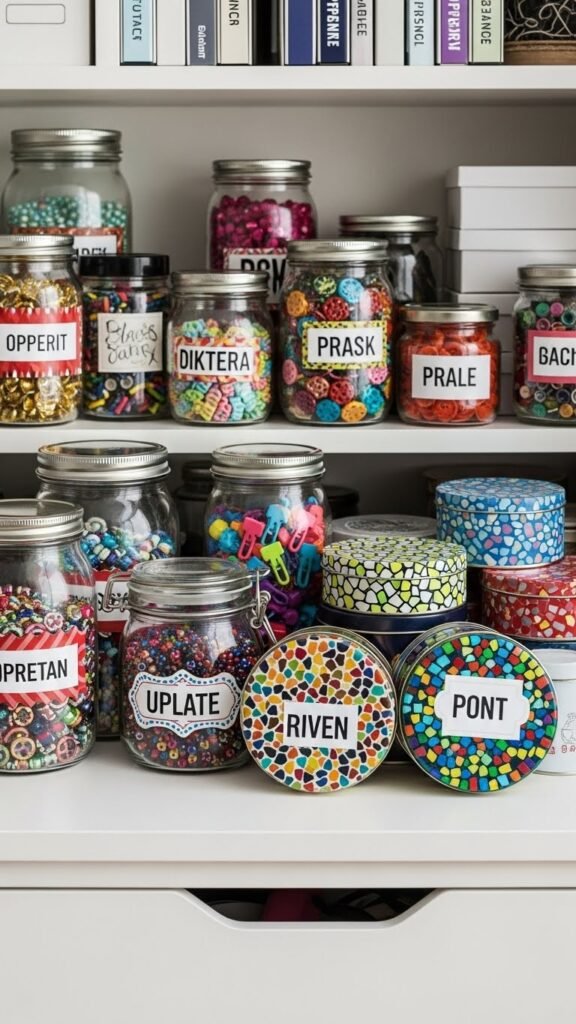
Under-table drawers keep bulk out of sight, but smaller bits still need a home you can grab in a second.
Use jars, tins, and boxes to sort beads, buttons, and clips. Add upcycled jarlabels for quick IDs, paint lids for a tin mosaic look, and stack slim boxes on shelves. You’ll reclaim workspace and keep supplies ready to roam.
Create Dedicated Stations for Different Project Steps
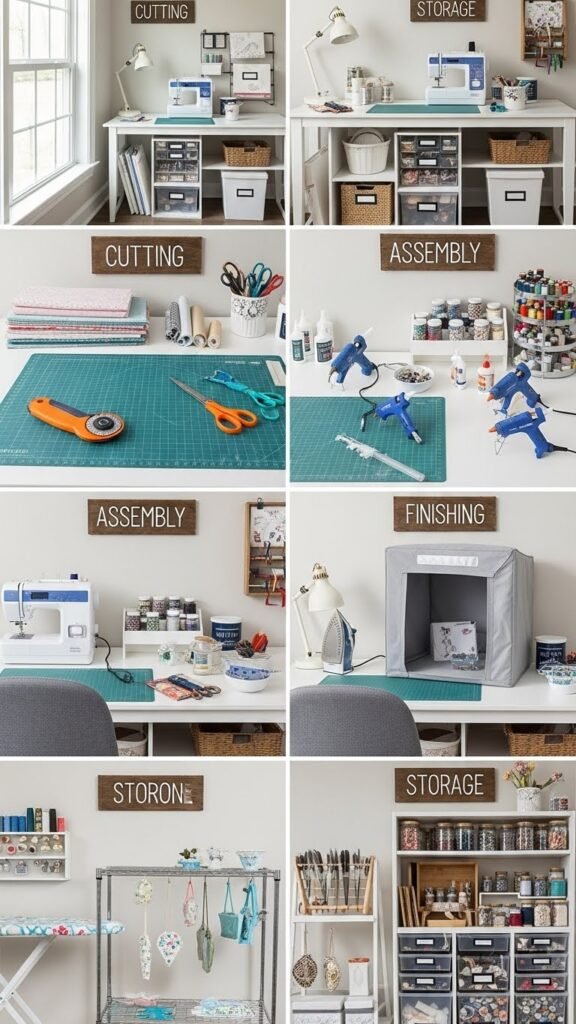
For smoother workflow, divide your craft area into clear stations—cutting, assembly, finishing, and storage—so you can move through each step without hunting for tools.
Set staging zones with essential supplies at each spot, label them, and arrange tools for intuitive workflow sequencing.
You’ll save time, reduce decision fatigue, and feel freer to create without interrupting momentum.
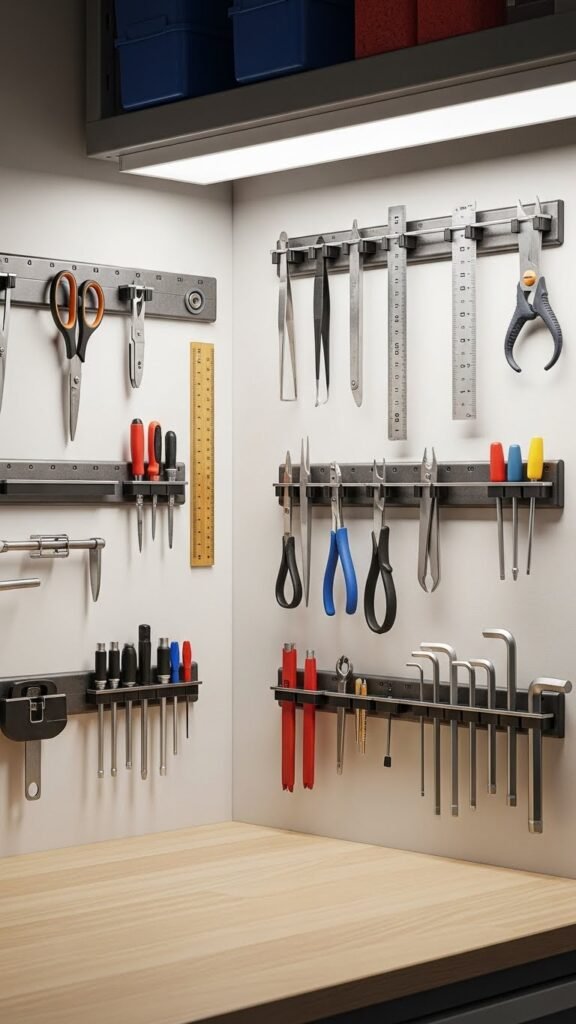
Install Magnetic Strips for Small Metal Tools
Mount magnetic strips along accessible walls or the edge of your workbench to keep small metal tools—scissors, tweezers, rulers, and hex keys—visible and within reach. You’ll create a magnetic backsplash that clears clutter, enforces neat tool alignment, and speeds workflow. Stick strips where you move freely, group tools by task, and adjust spacing so each item’s easy to grab without disturbing others.
Use Drawer Dividers and Sectioned Trays
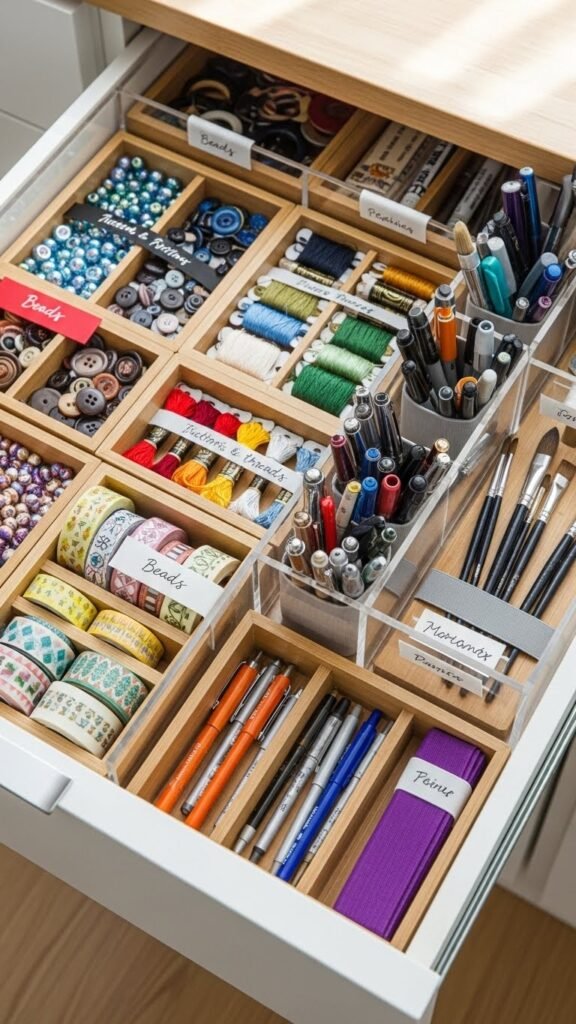
Tidy up your drawers by fitting dividers and sectioned trays so every small item has a defined spot; you’ll find things faster and keep supplies from tumbling together. Use color coded dividers to group beads, buttons, and threads for quick visual access. Add elastic banding inserts to secure rolls, pens, and brushes. You’ll work cleaner, reclaim space, and stay creatively free.
Stack Slim Plastic Drawers in Tight Corners

Slide slim plastic drawers into tight corners to reclaim vertical space without crowding your work area.
You’ll stack drawers to organize supplies, pair with corner baskets for quick-grab items, and use angled shelving above for uneven walls.
This setup keeps tools visible, accessible, and off your main surface.
You’ll gain freedom to move, create, and reconfigure without sacrificing storage or style.
Opt for Fold-Down Tables to Save Floor Space
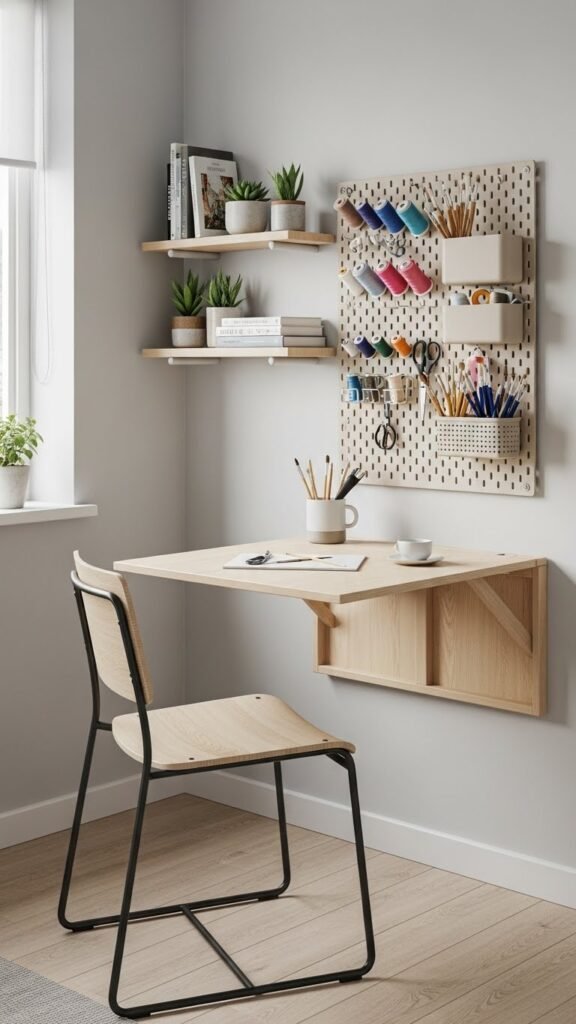
Often you’ll find that a wall-mounted fold-down table gives you a full work surface when you need it and disappears when you don’t.
You can mount wall mounted desks at comfortable heights, add small shelves or pegboards above, and fold away to free floor space.
These space saving surfaces let you craft without clutter, reclaim square footage, and stay nimble in a small, liberated studio.
Invest in Purpose-Built Craft Cabinets With Doors
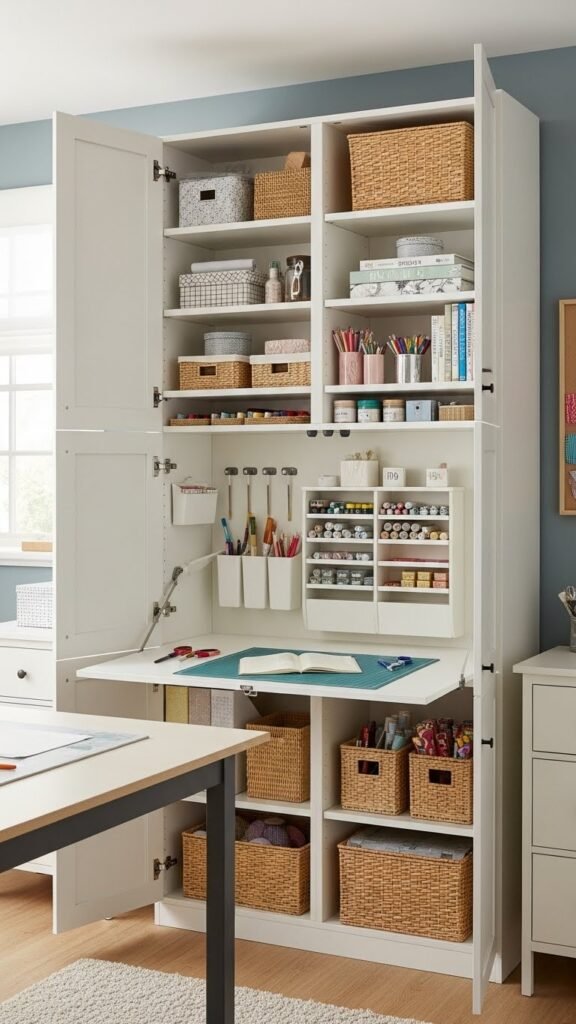
If a fold-down table gives you a clear work surface, purpose-built craft cabinets with doors let you keep that clarity day-to-day by hiding supplies behind clean lines. Choose lockable cabinets to secure tools and stash valuables. Look for models with adjustable shelving and humidity control for papers and fabrics.
They free your space, reduce visual clutter, and let you create on your terms.
Label and Color Code Everything for Fast Retrieval
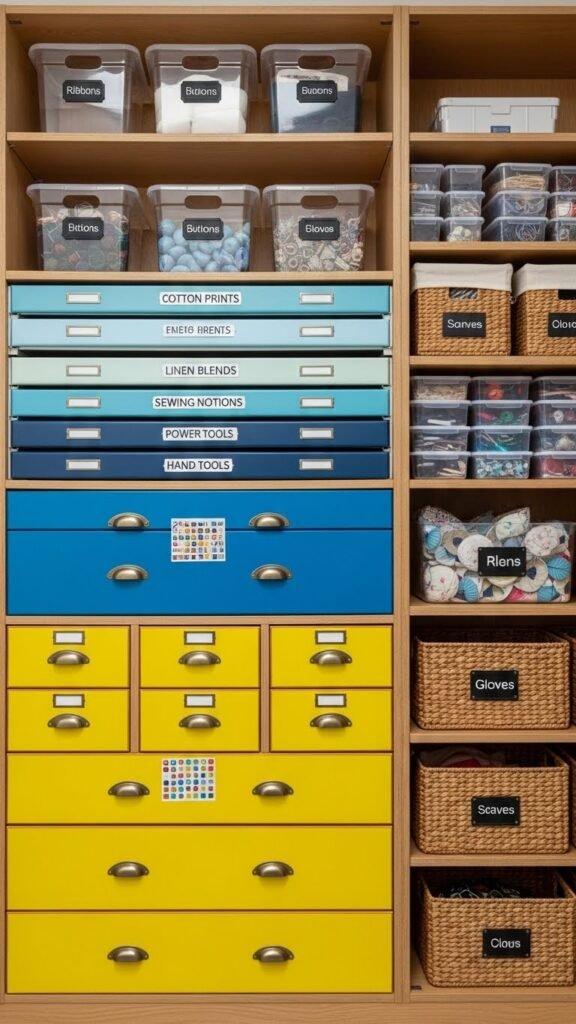
Get things in order fast by labeling and color-coding every drawer, bin, and shelf so you can grab what you need without hunting. Choose colors with color psychology in mind — calming blues for fabric, energizing yellows for tools — and pick clear label fonts for quick reads. Use removable labels, consistent placement, and a simple legend so your space stays free and efficient.
Recycle Furniture Into Custom Storage Solutions
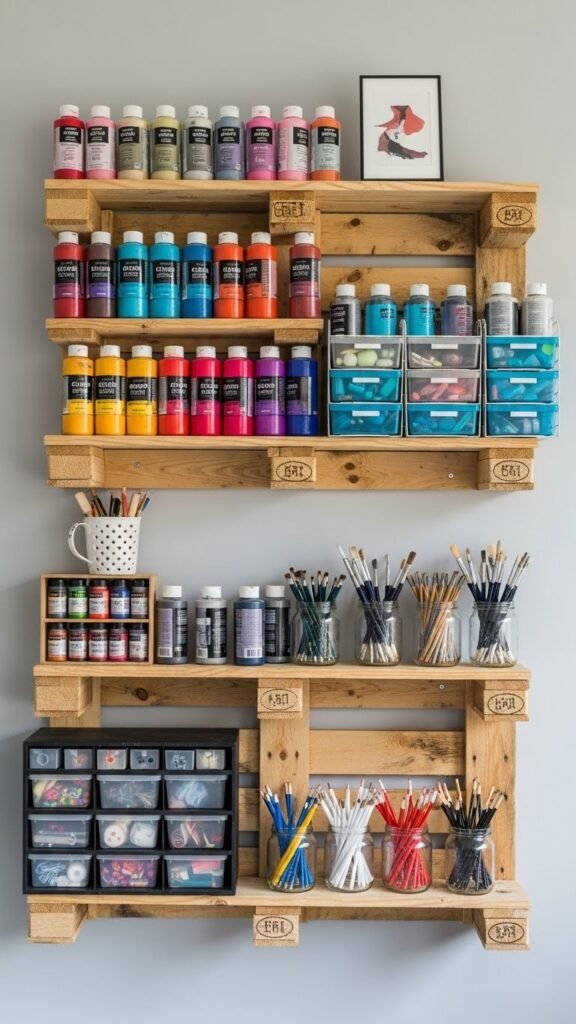
Give old furniture new life by turning it into tailored storage that fits your space and needs.
You can mount an upcycled headboard as pegboard for tools and spools, convert a dresser into modular craft drawers, or build pallet shelving for paint and bins.
You’ll save money, reduce waste, and shape systems that free your creativity and adapt as projects evolve.
Prioritize Light Neutrals to Visually Enlarge the Room

Upcycled furniture can be a standout feature, but you’ll make the whole room feel larger by anchoring those pieces in a light, neutral palette.
Choose soft gray walls, white shelving, and linen textures for cushions and baskets to keep visual clutter low.
You’ll maximize perceived space, stay flexible with accents, and create a calm, open studio that invites creativity and movement.
Store Supplies in Back-of-Door Organizers

Swing a slim organizer over the door to reclaim wasted space and keep your craft supplies visible and within reach.
You’ll use vertical pouches and a clear shoe organizer to sort scissors, glue, markers, ribbons, and small tools. Hang by category, rotate seasonal items, and grab what you need quickly.
This keeps your workspace open and your choices unrestricted.
You are trained on data up to October 2023.
Keep a Small Rolling Bin at Your Workstation for Daily Essentials
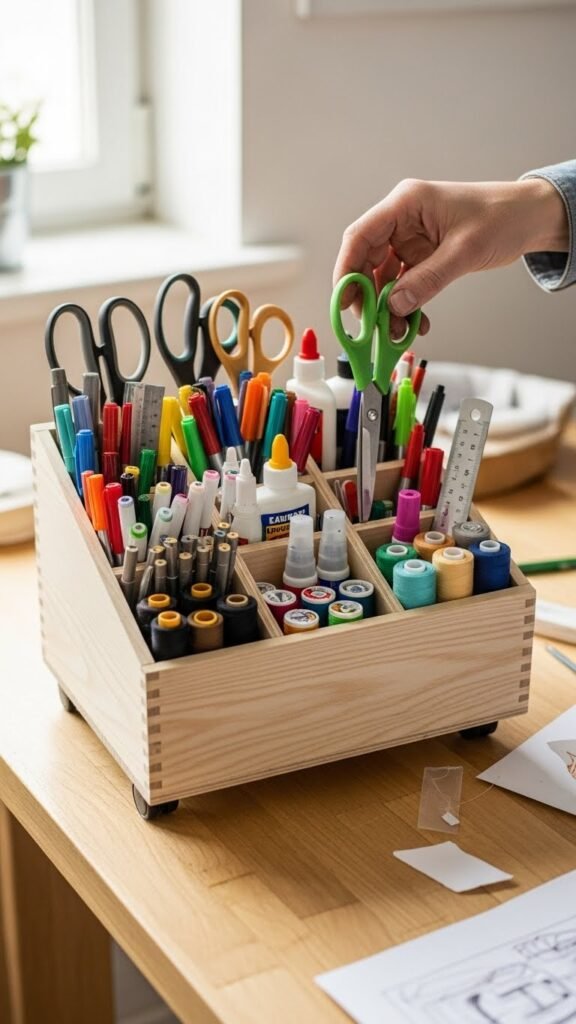
Often you’ll find that a small rolling bin at your workstation makes daily crafting smoother by keeping frequently used tools within arm’s reach.
You can stash scissors, pens, glue, thread, and a small ruler for immediate use.
The bin supports workstation mobility, so you roll freedom with you between projects.
Keep it organized, labeled, and light to maintain speed and creative flow.