
You can reclaim that wasted under-sink space with simple, practical fixes that fit around pipes and keep items visible and accessible. Start with adjustable shelves, slide-out trays, and labeled liftable baskets, then add tension rods, a Lazy Susan, and clear stackable bins to separate cleaners from tools. I’ll show how to protect against leaks, childproof hazardous supplies, and set up a low-maintenance system — but there’s one trick that makes everything easier.
Install an Adjustable Two-Tier Shelf Organizer

Start by measuring the under-sink cavity so you know what size organizer will fit without hitting pipes.
Choose an adjustable two-tier shelf with height adjustable tiers so you’ll fit tall cleaners and short sprays.
Mount it toward the back, leaving front access.
Add under shelf lighting for visibility.
Secure legs or clamps to prevent wobble.
You’ll gain order and quick reach.
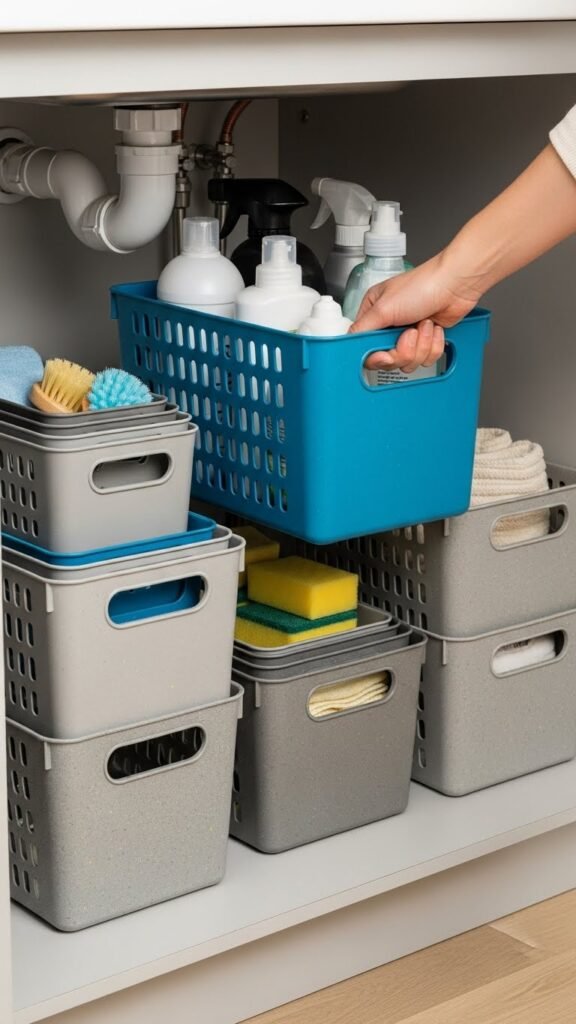
Use Liftable Labelled Baskets for Small Items

Pull a basket out, read the label, and grab what you need—liftable labelled baskets make small-item storage fast and foolproof.
You’ll sort items by use, maintain label visibility for instant identification, and choose basket sizing to fit space and contents.
Liftable handles let you carry supplies without dumping contents, so you stay organized and free to move without fuss.
Fit a Slim Slide-Out Drawer Around Pipes

Once your baskets are arranged for quick access, you can add a slim slide-out drawer to capture the narrow space around sink plumbing.
Measure around pipes, choose pipe friendly organizers that contour to traps, and mount a slim rail.
Opt for custom soft close mechanisms so it glides gently.
Install with minimal drilling, keep contents light, and reclaim that tight, usable corridor for freedom and order.
Add a Rotating Lazy Susan for Easy Access
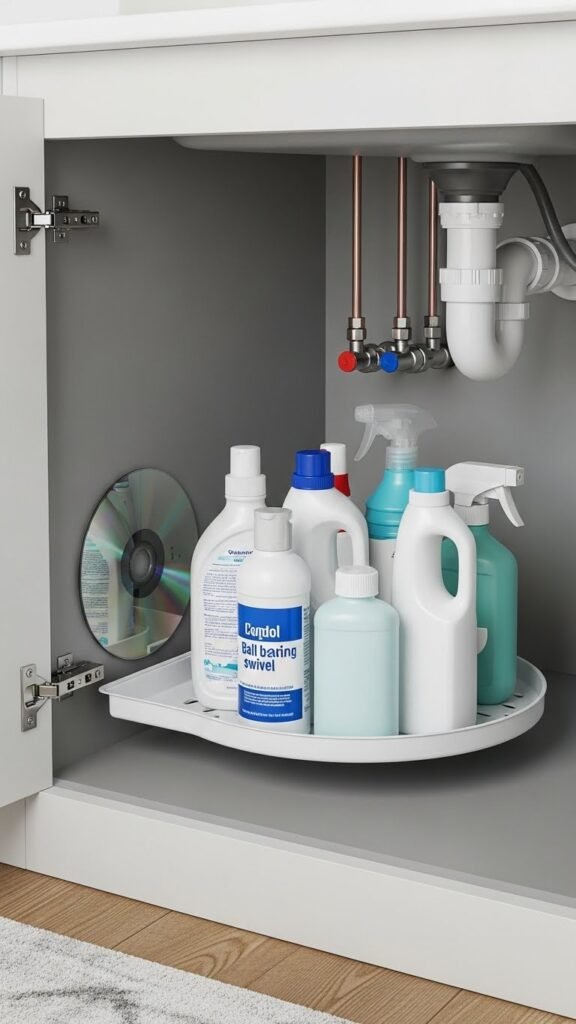
Bring a rotating Lazy Susan into your under-sink setup to make deep corners and awkward angles instantly reachable.
You’ll center a compact disk in the kitchen corner, install a ball bearing access swivel, and secure the lazy mechanism so it glides under pipes.
Arrange bottles and cleaners by size, test rotation for clearance, and enjoy effortless access without fumbling or wasted space.
Mount a Tension Rod for Spray Bottles

For quick access to spray bottles, mount a tension rod across the cabinet interior just under the sink lip so you can hang bottles by their trigger handles. Measure for secure tension rod placement, position bottles so bottle nozzle alignment faces outward, and stagger heights to avoid collisions.
You’ll reclaim shelf space, access cleaners faster, and maintain a tidy, liberated under-sink zone.
Store Sponges and Brushes in a Waterproof Caddy
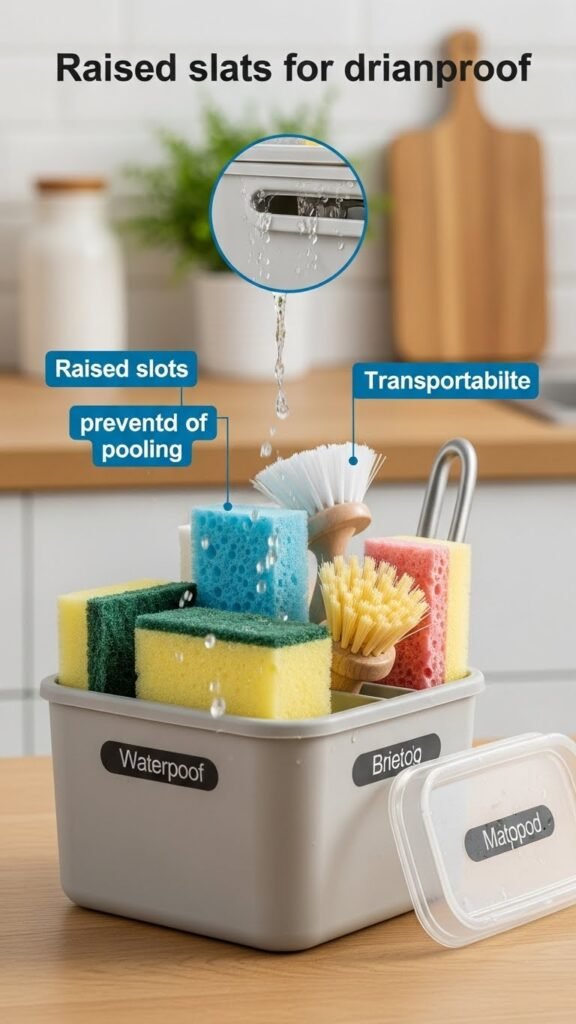
Keep sponges and brushes in a small waterproof caddy to stop mildew, contain drips, and make cleaning tools easy to grab.
Choose a drain safe storage caddy with raised slots so water escapes, not pools. Pick an odor sealing caddy or one with a tight lid for transport. Label compartments, rinse items before stashing, and empty weekly to maintain freedom and order.
Hang Small Tools on Adhesive Hooks Inside the Door
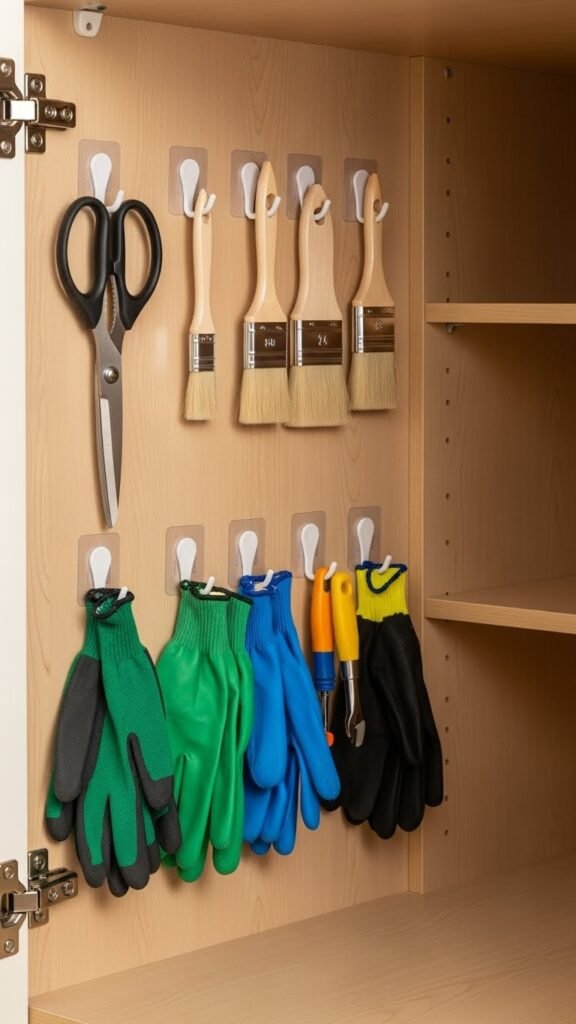
Stick adhesive hooks inside the cabinet door to free up shelf space and keep small tools within reach. You’ll plan adhesive hook placement by measuring spacing and weight limits, then stick hooks at reachable heights.
Group similar items for efficient tool grouping — scissors, brushes, gloves — using matching hooks. You’ll peel cleanly, press firmly, then use hooks confidently to create instant access and order.
Use Stackable Clear Plastic Bins to Maximize Space
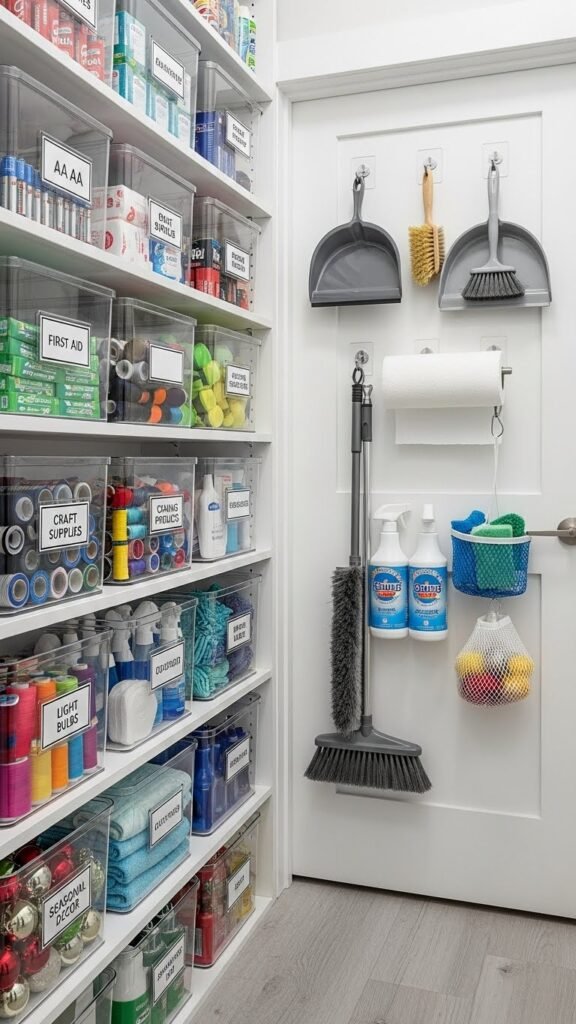
Adhesive hooks free the door; now use stackable clear plastic bins to reclaim shelf depth and see what you’ve stored at a glance. You’ll prioritize clear stacking so items stay visible and accessible. Group by use, label fronts, and stack uniformly.
Schedule simple bin maintenance monthly: wipe interiors, check lids, rotate supplies. This keeps space efficient and gives you freedom to grab essentials fast.
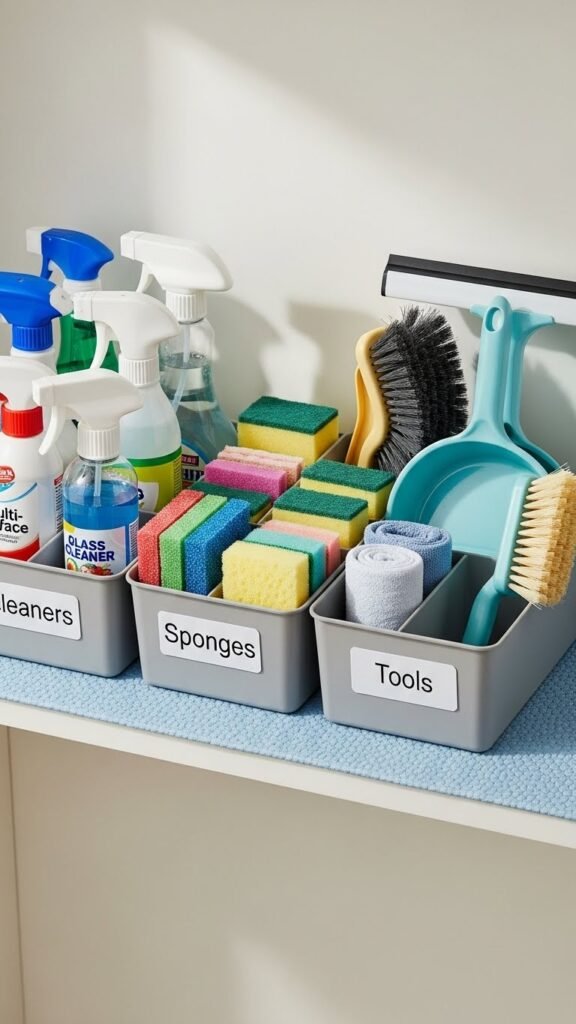
Corral Cleaning Supplies in a Portable Caddy
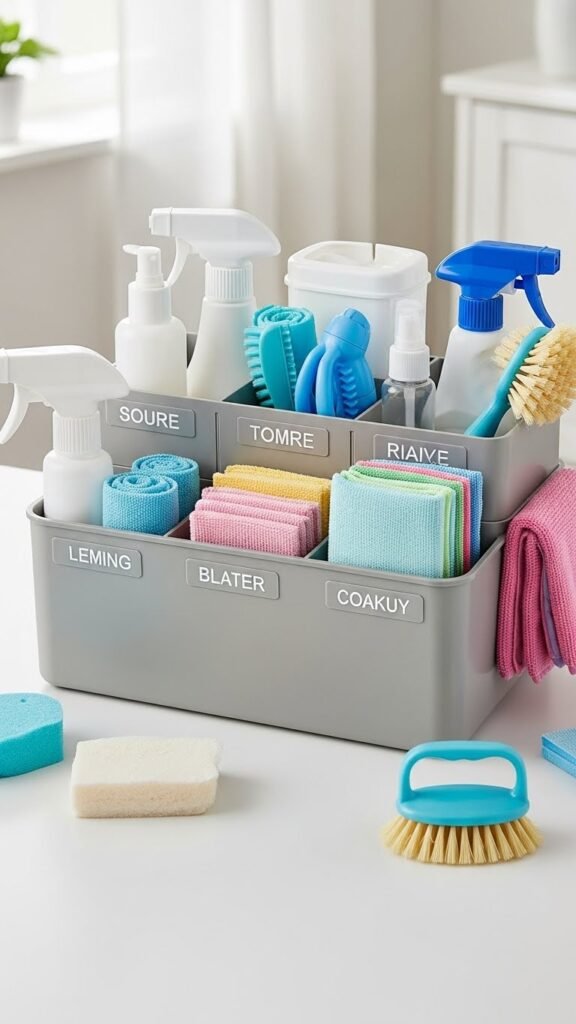
Toss your cleaning essentials into a portable caddy so you can grab everything in one trip and move from room to room without backtracking.
Organize by task: sprays, cloths, brushes, trash bags. Label compartments, keep a simple supply rotation to use older items first, restock weekly, and remove empties immediately.
This system frees time and keeps under-sink clutter contained and accessible.
Create a Dedicated Zone for Hazardous Chemicals
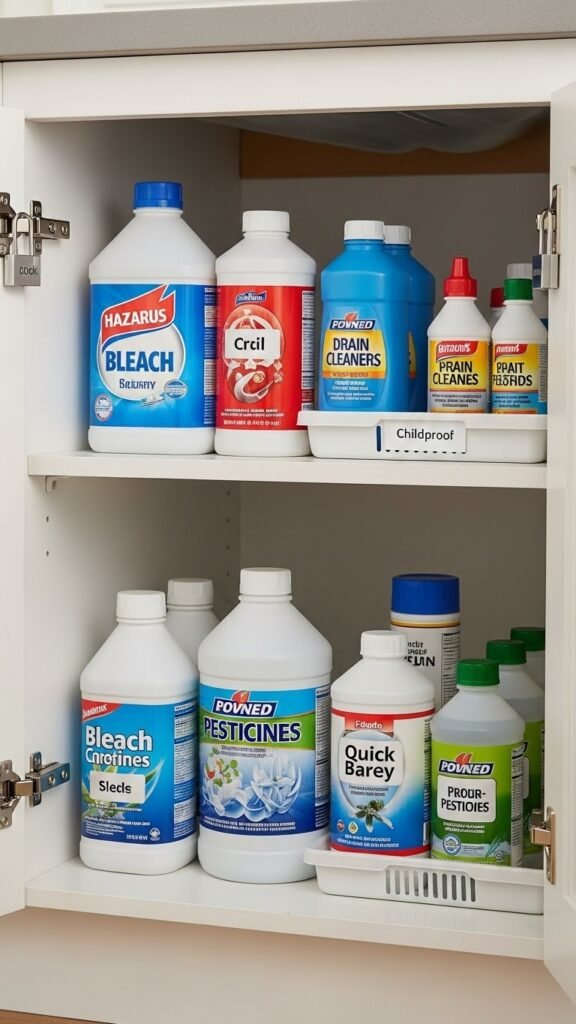
Once you’ve got a portable caddy for everyday cleaners, set up a separate, clearly marked zone under the sink for hazardous chemicals like bleach, drain cleaners, and pesticides. You’ll group items, install childproof locking on the cabinet, and keep containers upright. Choose ventilated storage or add a small vented tray to prevent fumes. Label everything for quick, safe access.
Protect Dry Goods With Airtight Sealed Containers

If you want your flour, rice, and snacks to stay fresh and pest-free, move them into airtight sealed containers and label each one clearly. You’ll reclaim space and peace of mind.
Use opaque containers for light-sensitive items, practice airtight labeling for dates and contents, and monitor humidity control with a small desiccant packet. Stack smartly so you can grab what you need and go.
Install a Compact Over-the-Door Organizer Carefully

After you’ve sealed and labeled dry goods, free up cabinet shelves by fitting a slim over-the-door organizer on the inside of a pantry or under-sink door. Measure clearance around door hinges, pick a lightweight model with sturdy hooks, and align so it won’t rub. Use mesh pockets for sprays, brushes, and small tools. Secure with screws or anti-slip pads for dependable freedom.
Use Narrow Vertical Shelves for Dustpans and Mops
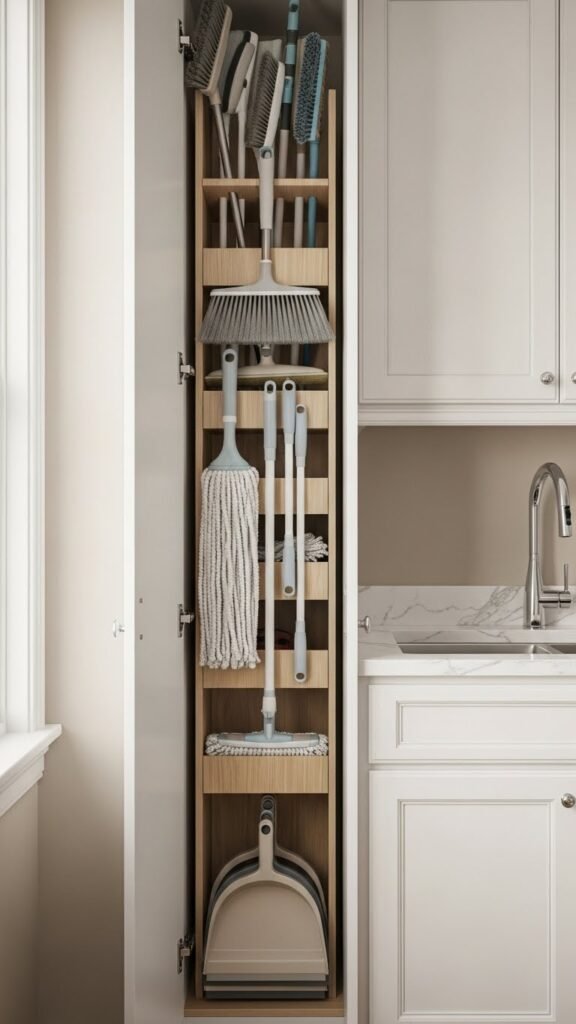
Slide slim vertical shelving into a gap beside your pantry or under the sink to corral dustpans, mops, and broom handles without wasting shelf space.
You’ll slide vertical brooms and slim mopheads into dedicated slots, keeping them upright and accessible.
Anchor the unit, stagger slot widths for different handles, and grab tools quickly so cleaning stays simple and liberating.
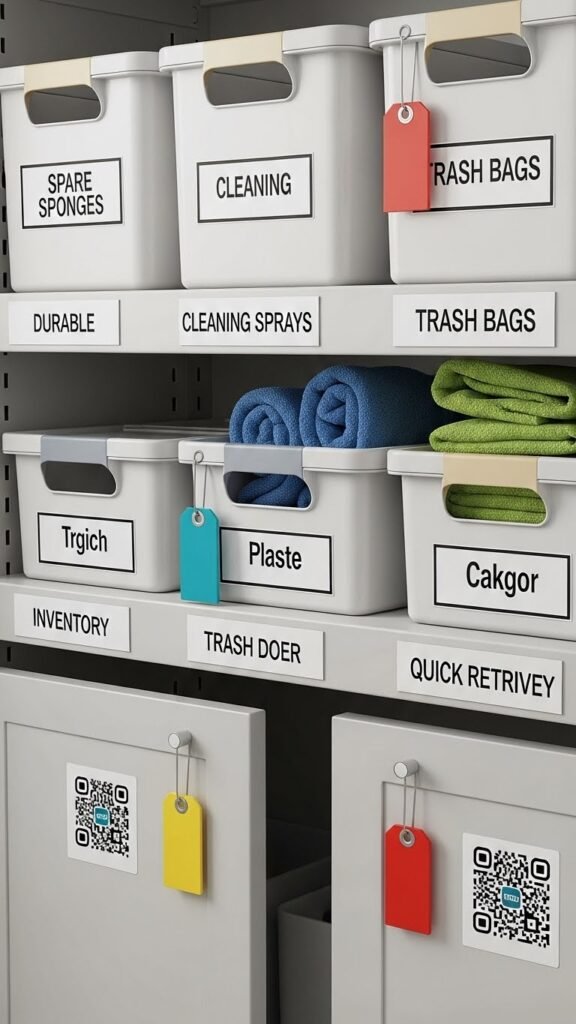
Label Everything to Speed Up Retrieval
Nest Smaller Containers Inside Larger Ones
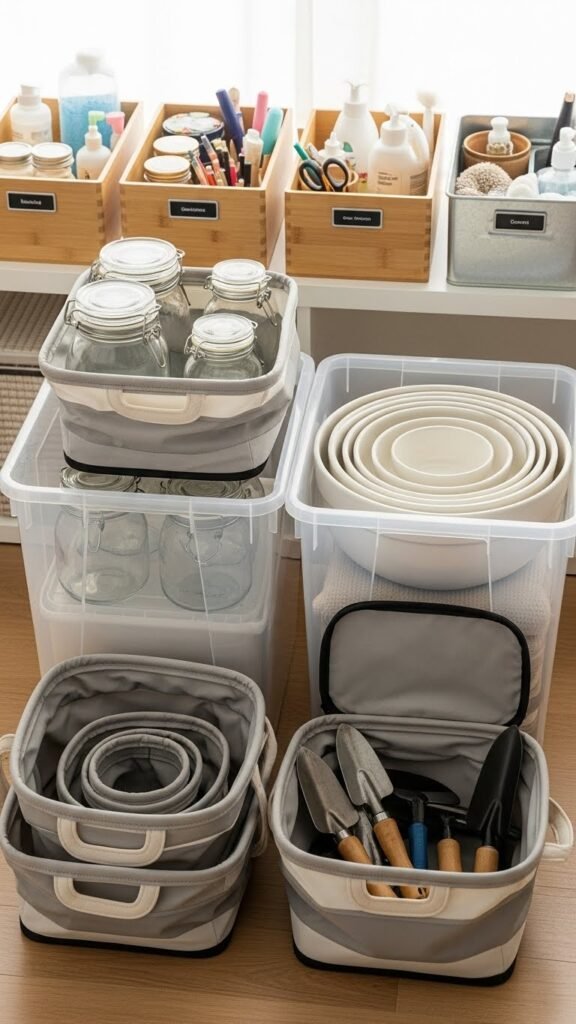
Stack smaller bins inside larger ones to save space and keep like items together; you’ll pull out only what you need instead of rummaging through a jumble.
Nesting bowls, jars, and small tools fit inside roomy containers so you reclaim floor space and simplify access.
Use collapsible baskets for flexible depth, grouping by task. You’ll free up space, reduce clutter, and move with ease.
Choose Recycled Plastic Baskets With Handles
Once you’ve nested smaller containers, pick recycled plastic baskets with handles to make retrieval easier and cut waste. You’ll choose sizes that fit shelves, note color choices to visually separate categories, and test grip comfort.
Perform simple durability testing—lift loaded baskets, wiggle corners—and favor sturdy handles. This lets you access supplies fast, stay organized, and keep your under-sink area low-fuss.
Mount a Small Magnetic Strip for Metal Tools
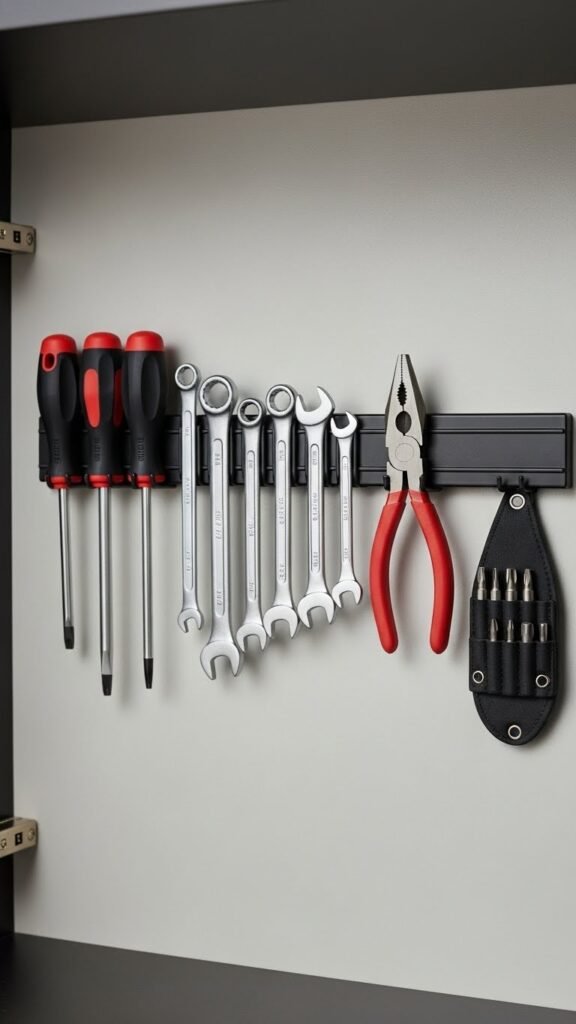
Sitting flush against the inside cabinet wall, a small magnetic strip keeps metal tools visible and off the bottom, so you can grab what you need without rummaging. Mount it where reach is easy, align tools for consistent tool alignment, and use a magnetic sheath for smaller bits.
Secure with screws or strong adhesive, test weight limits, and enjoy faster access and more freedom.
Add Moisture-Resistant Shelf Liners

Use Removable Dividers to Customize Bins
After lining the shelves to keep moisture at bay, add removable dividers to your bins so each item has a dedicated spot and you can reconfigure as needs change.
You’ll create adjustable sections that separate cleaners, sponges, and tools. Use removable partitions to tailor bin size, label zones, and grab what you need fast. This keeps order flexible and empowers quick upkeep.
Keep Flammable Items in a Separate, Ventilated Box

Because flammable liquids and aerosols pose a concentrated fire risk, store them in a separate, well‑ventilated box rather than mixed with everyday cleaners, tools, or paper goods.
You’ll choose a fireproof container inside a ventilated cabinet or a vented box under the sink. Label contents, keep lids tight, and position the box upright. This protects your space and preserves your freedom to live safely.
Rotate and Inspect Supplies Monthly for Safety

Keeping flammable items separated reduces fire risk, but you also need a routine for checking everything under the sink.
You’ll schedule monthly expiration checks, rotate stock so oldest items go front, and discard expired or damaged products.
Perform safety data sheet reviews for hazardous cleaners, note storage needs, and label replacements.
This systematic habit protects your space and keeps your options flexible.
Fit a Stainless Steel Rack for Heavy Items
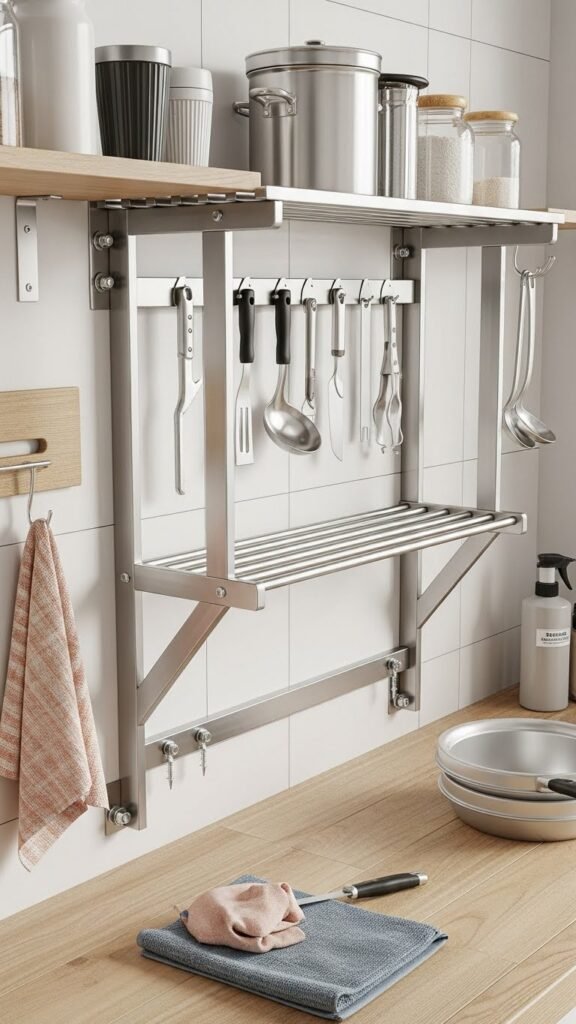
Install a stainless steel rack to handle heavy items and protect the cabinet floor — it gives you a stable, rust-resistant platform that won’t sag under weight.
Mount it level, anchor to studs or use heavy-duty anchors, and perform weight testing before loading.
Follow stainless maintenance: wipe spills, dry surfaces, and check fasteners periodically so your setup stays reliable and lets you move freely.
Use Clear Containers to Monitor Inventory at a Glance

Often you’ll find what you need faster when you swap opaque boxes for clear containers: they let you scan contents at a glance, spot low supplies, and avoid duplicate purchases.
Use clear bins so you maintain a visual inventory, label front edges, and group by use.
Practice simple container rotation: put newer items at the back, pull from front, and restock predictably for freedom and order.